

Bat Disco Quilt Along - Week Two
Cutting Your Fabrics
Welcome back to the Bat Disco Quilt Along! Last week was all about fabric pulls, and I loved seeing all the creative palettes you’ve been sharing. From bold solids to scrappy stashes and cute Halloween vibes — every version of Bat Disco is going to be fang-tastic. I can only apologise🖤
This week, it’s time to cut our fabrics and get everything ready for sewing. Future you will be glad you took the time to cut carefully and keep things organised.
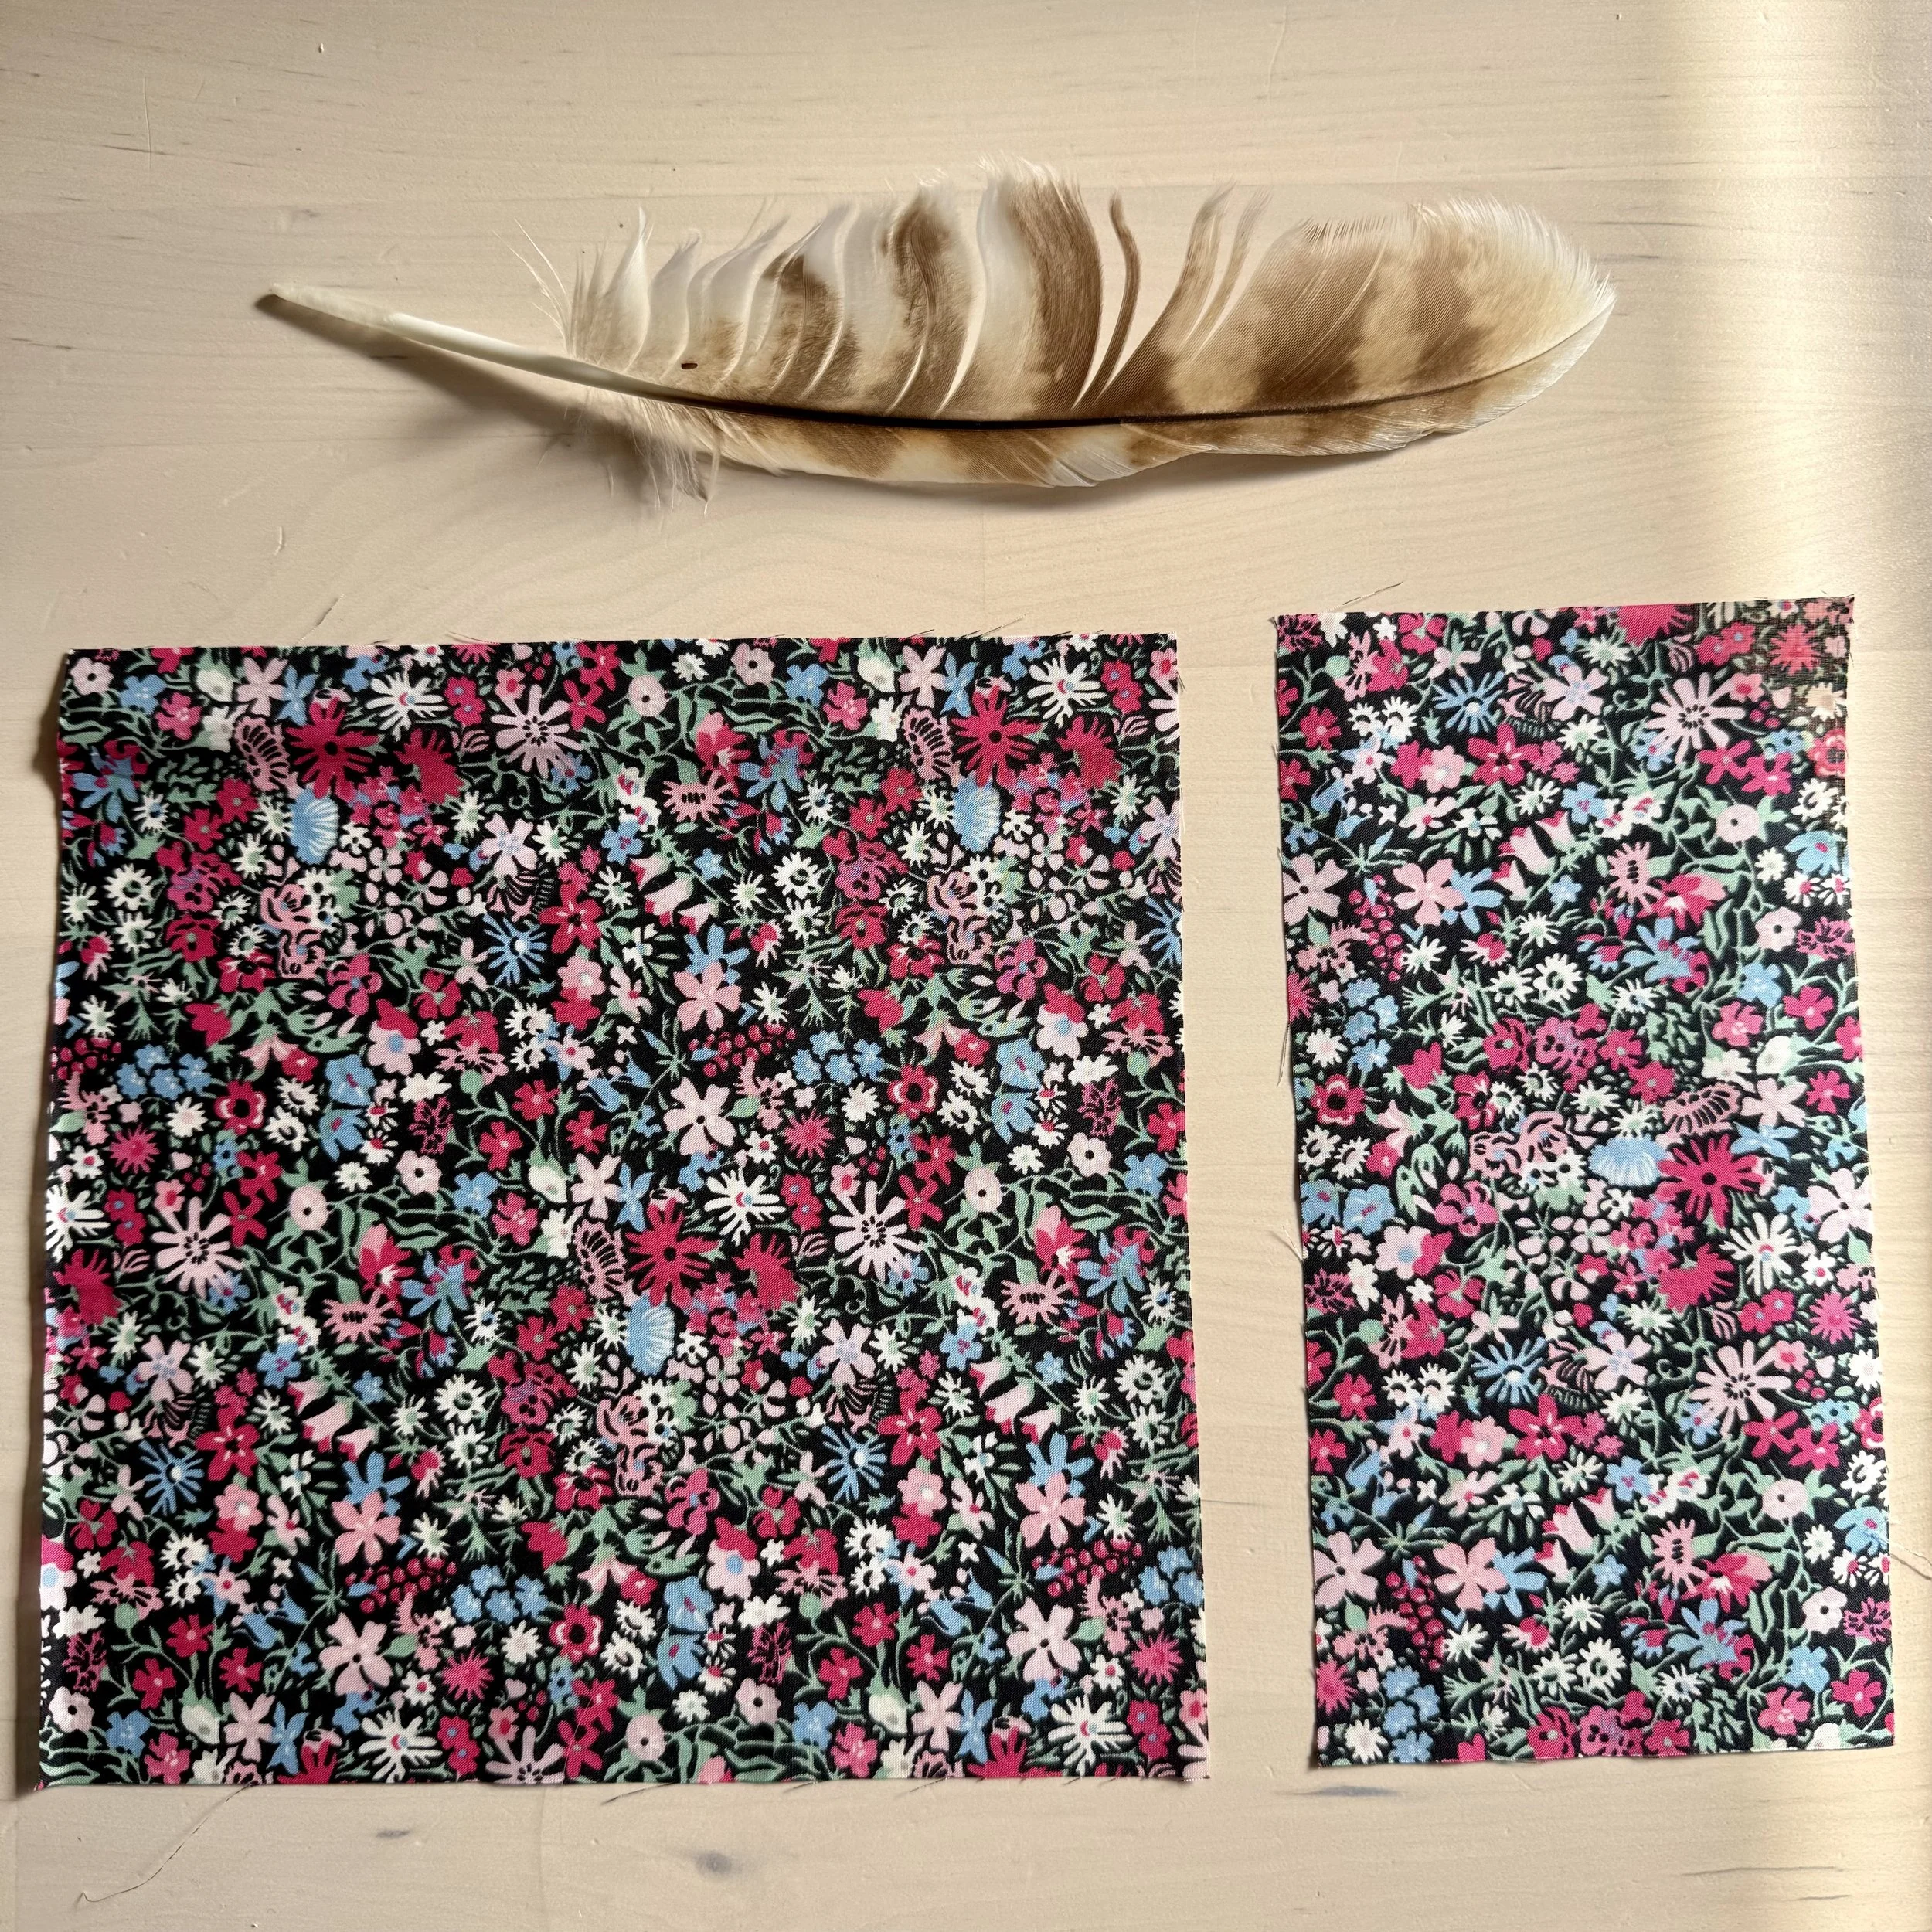
Accent fabric is cut in two pieces. squares & rectangles.
Tips for Cutting Success
Press before you cut
Give your fabrics a good press with a hot iron. It makes for smoother cutting and more accurate pieces. I don’t typically starch, just a mist of water works for me.Fresh blade, sharp cuts
If your rotary cutter has been struggling, this is the time to swap in a fresh blade. Everytime I change my blade I wonder why I hadn’t done it sooner.Follow the pattern closely
The Bat Disco pattern has cutting charts for you to follow so have this open on a tablet or printed so you can tick them off as you go.Stay organised
Since Bat Disco uses six colours, I recommend labelling your stacks. You can use sticky notes, washi tape, or little trays/baskets. This will save you lots of head-scratching when it’s time to sew.
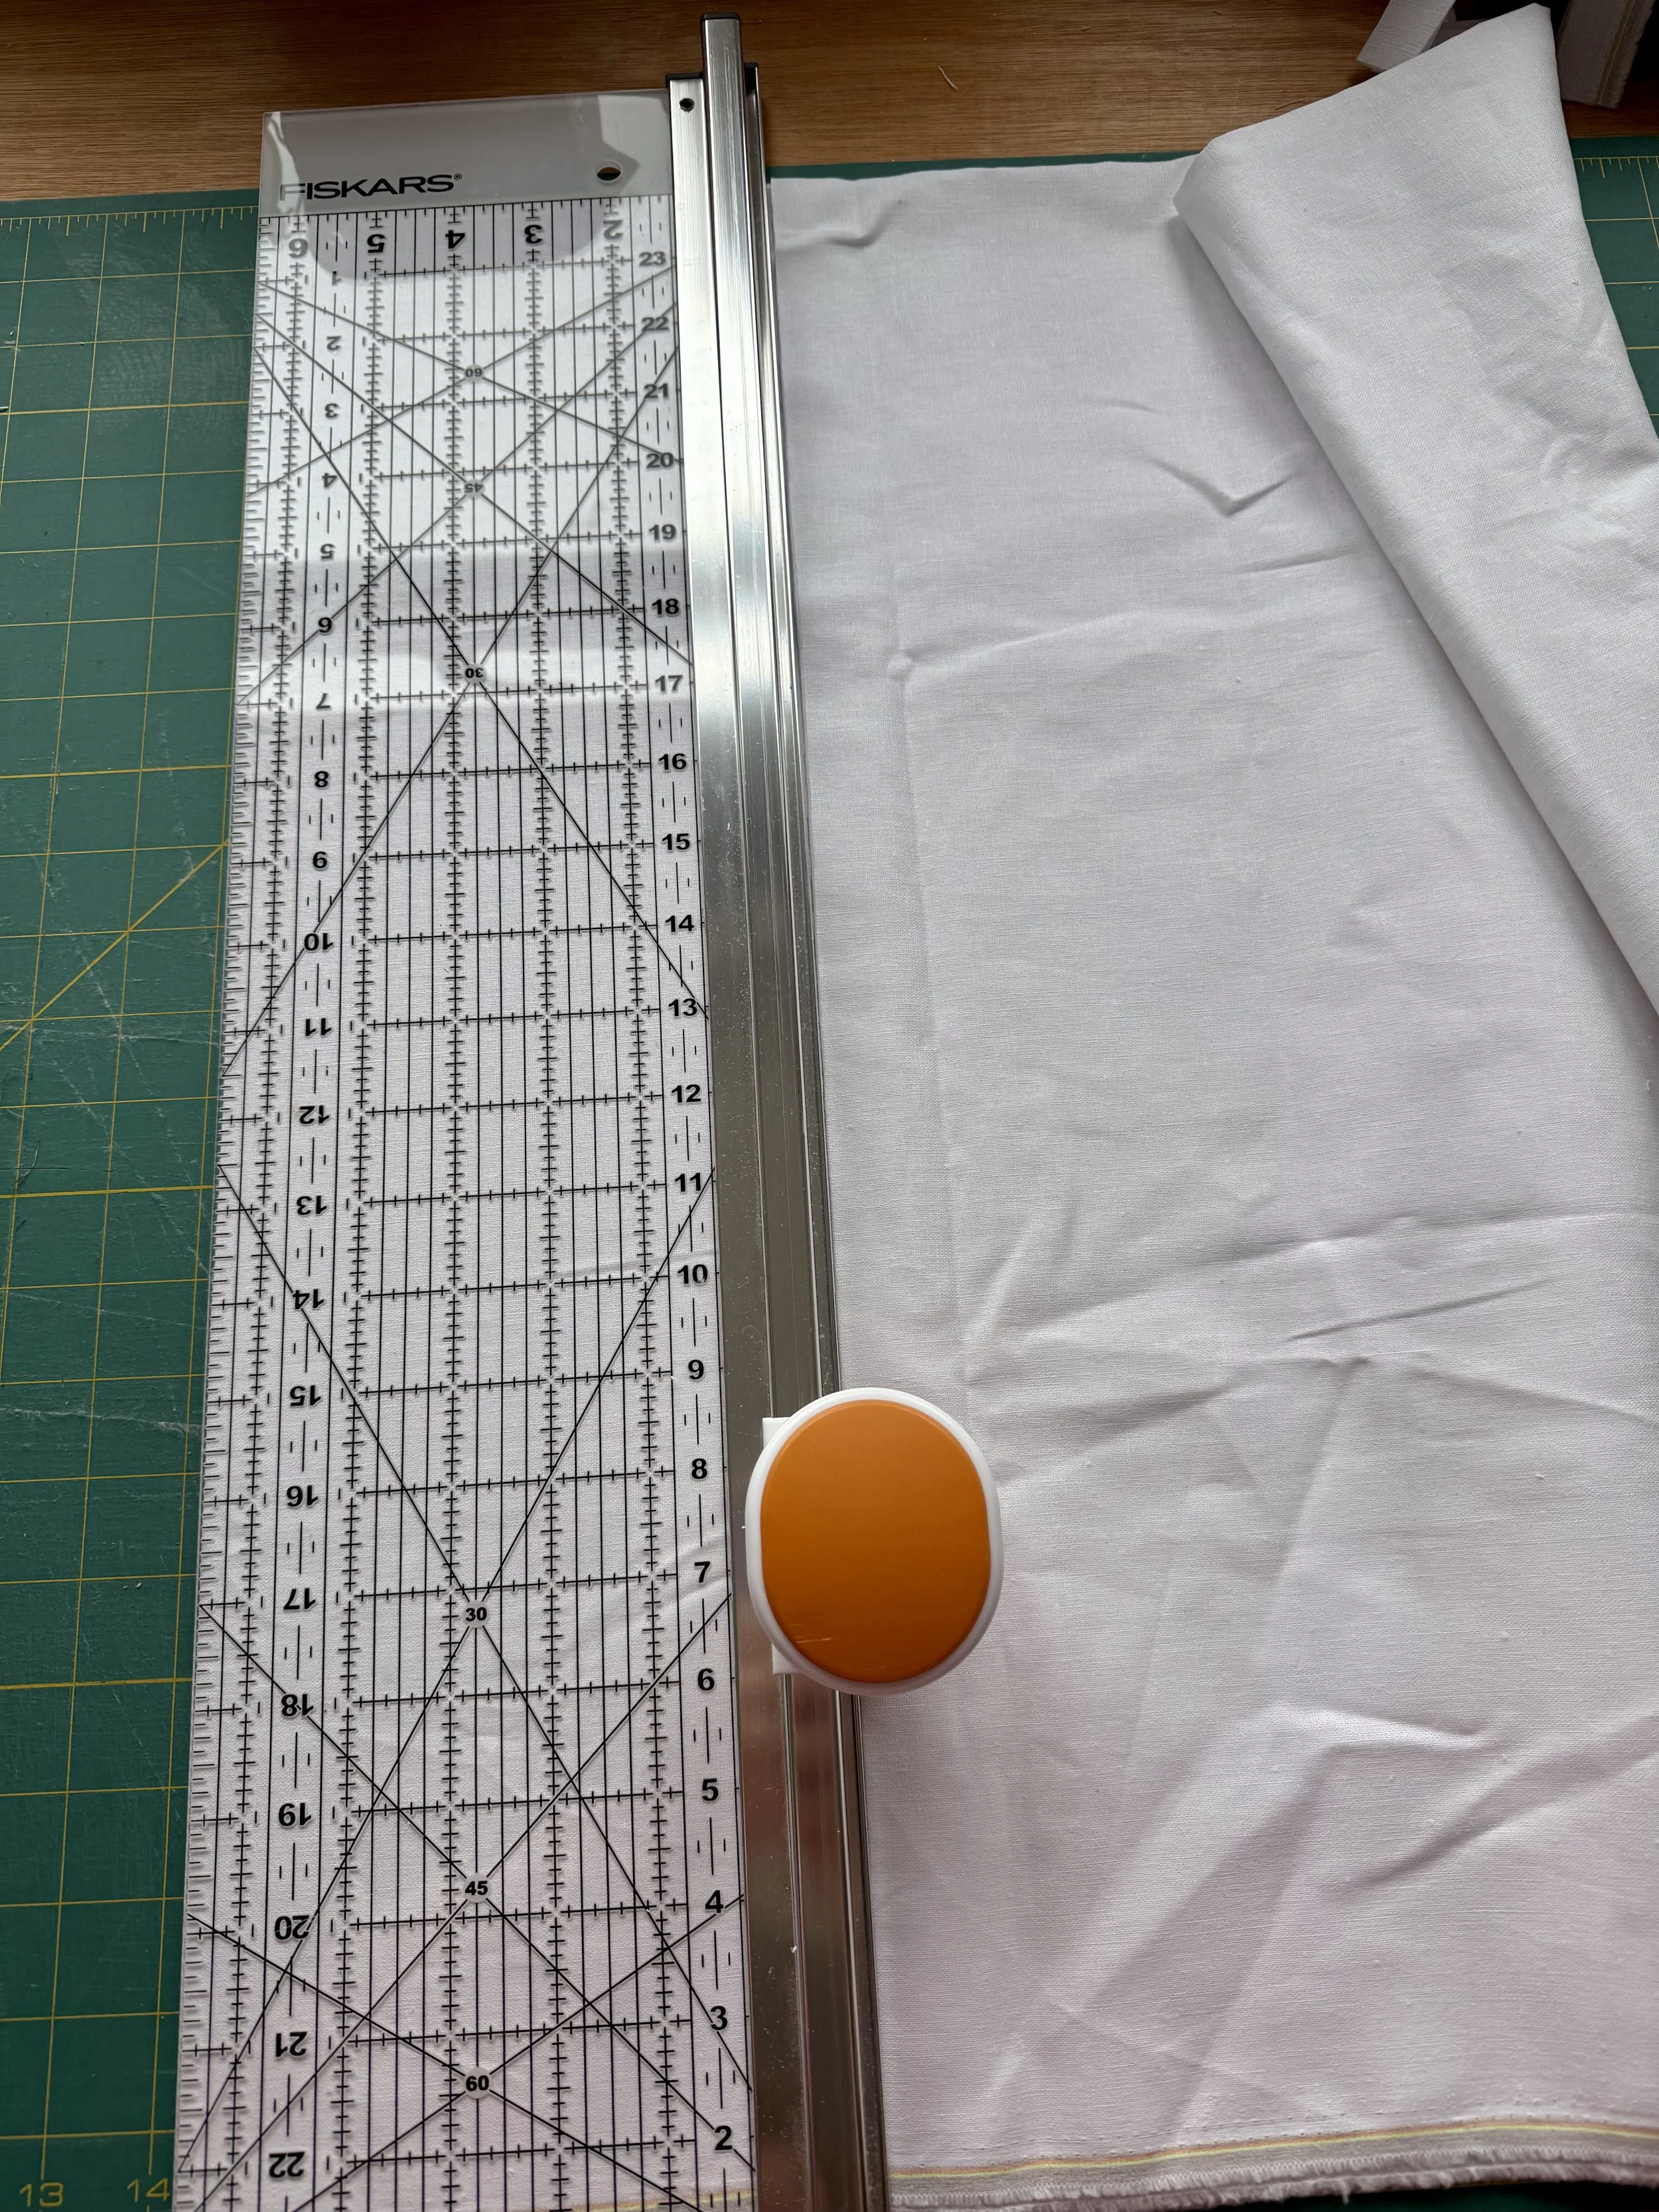
As well as my rotary cutter I treated myself to one of these rotary combos from Friskar, more ergonomic if cut lots of fabric.
Cutting Breakdown for Bat Disco
When you’ve finished cutting, you should have:
Three sizes of background squares:
Small
Medium
Large
Two sizes of accent fabric pieces:
Squares
Rectangles
I suggest labelling these groups clearly as you go — Small/Medium/Large for the background squares, and Square/Rectangle for the accent fabrics. I have kept my labels literal, rather than fabric A, B etc just for clarity. Keeping everything together now will make piecing next week so much smoother!
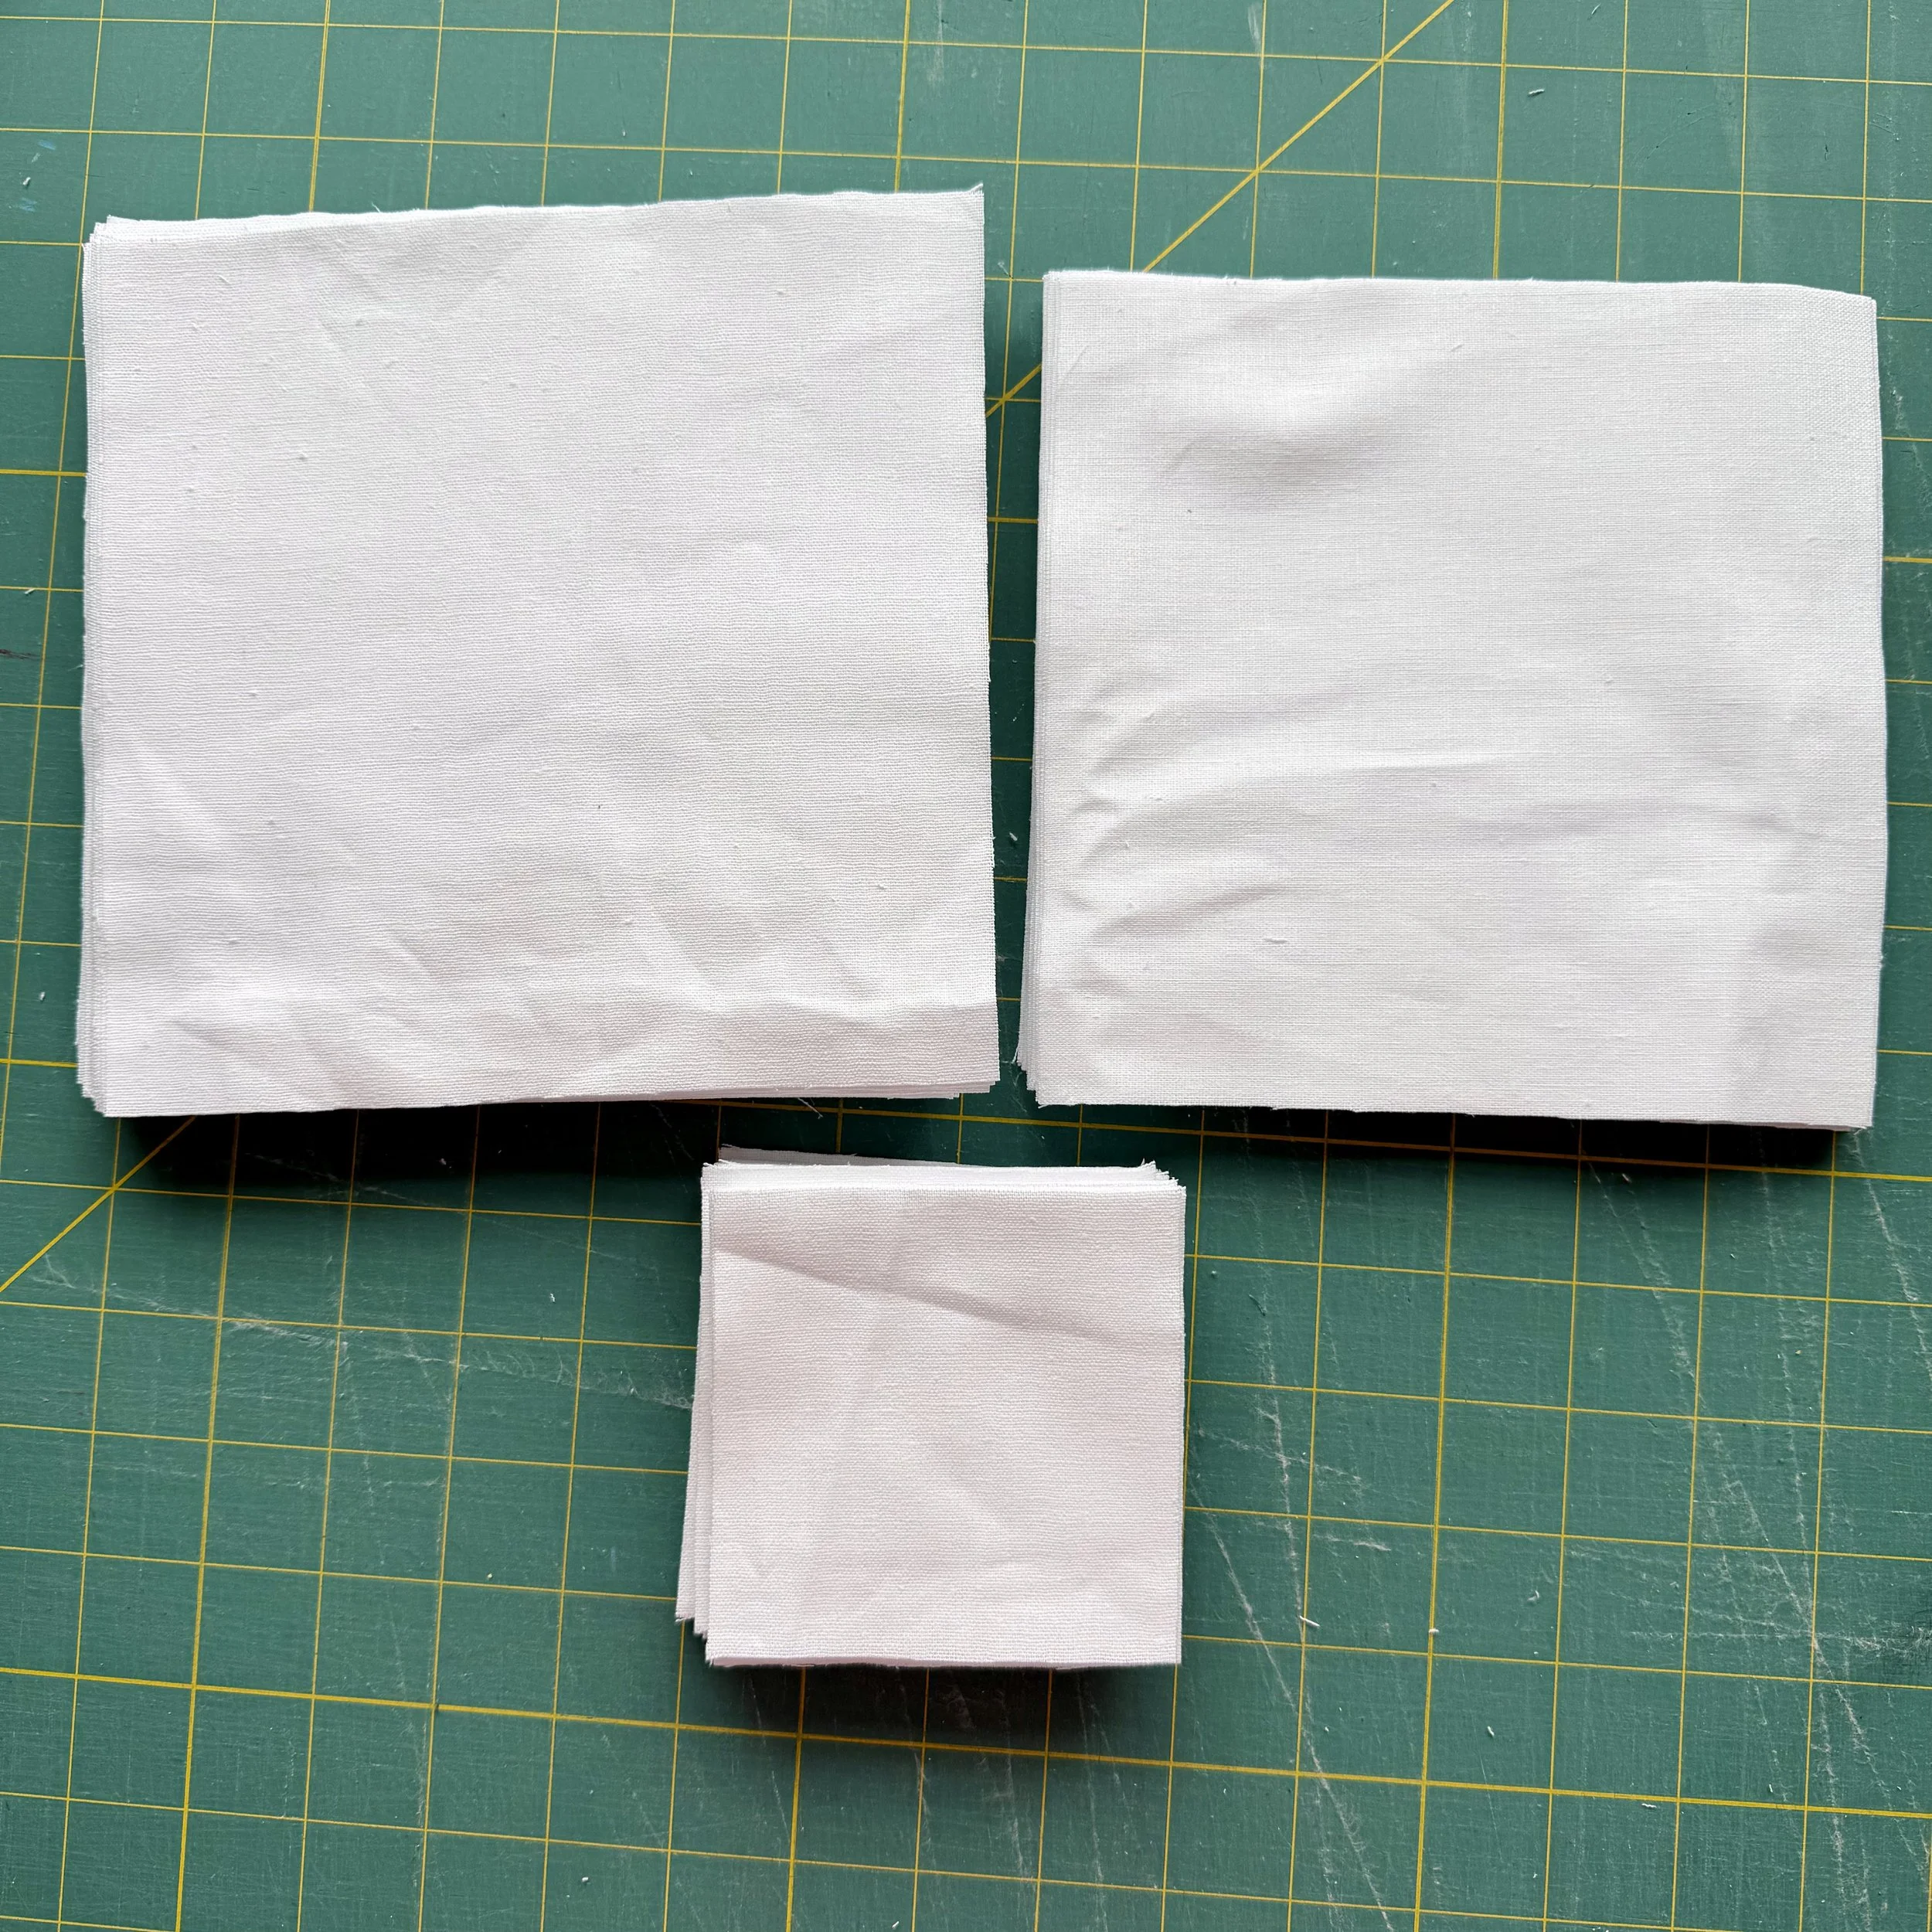
The three sizes of background fabric: small, medium and large.
Different Versions
For my six colour version, I’d cut six stacks of solids in bright, happy colours playing with the traditional Halloween colours.
For my Liberty version, I’ve cut six moody prints with darker hues for a floral take.
For the monochrome version, I simply have a stack of squares and rectangles in my chosen fabric.
Your Task This Week
Cut your fabrics according to the pattern.
Sort them into five groups: three sizes of background squares + two sizes of accent pieces.
Label your piles and keep them organized.
Share a picture of your cut fabrics (tidy or not-so-tidy — we won’t judge 😅) with the hashtag #BatDiscoQuiltAlong so we can all cheer you on.
Next week, we’ll jump into our first building block: half-square triangles! Get those rotary cutters moving, and I’ll see you back here for Week Three.
Bat Disco Quilt Along Schedule
Here’s what’s coming up over the next 6 weeks:
Week 1 – Fabric Pull
Show off your spooky (or not-so-spooky!) fabric picks.
Week 2 – Cutting
Get those fabrics prepped and organized.
Week 3 – Half-Square Triangles
Lots of HSTs = lots of disco magic!
Week 4 – Snowball Blocks
Cute, simple, and oh-so-satisfying.
Week 5 – Quilt Top Assembly
Layout + rows = Bat Disco starting to shine!
Week 6 – Quilting & Finish
Quilting, binding, and celebrating your Bat Disco!
Use #BatDiscoQuiltAlong so we can all follow along and cheer you on!
🦇 Bat Fact!
There are over 1,400 species of bats in the world! They range from tiny bumblebee bats (lighter than a penny!) to flying foxes with 6-foot wingspans.