

Bat Disco Quilt Along - Week Four
Snowball Blocks aka Bat Ear Blocks
Welcome back to the Bat Disco Quilt Along! We’ve already tackled half-square triangles, and this week we’re jumping into our second building block: the snowball!
Snowballing is when you '“round off” a corner in quilting terms. In other words you create triangles of contrasting fabric at the corner of squares or in this case rectangles.
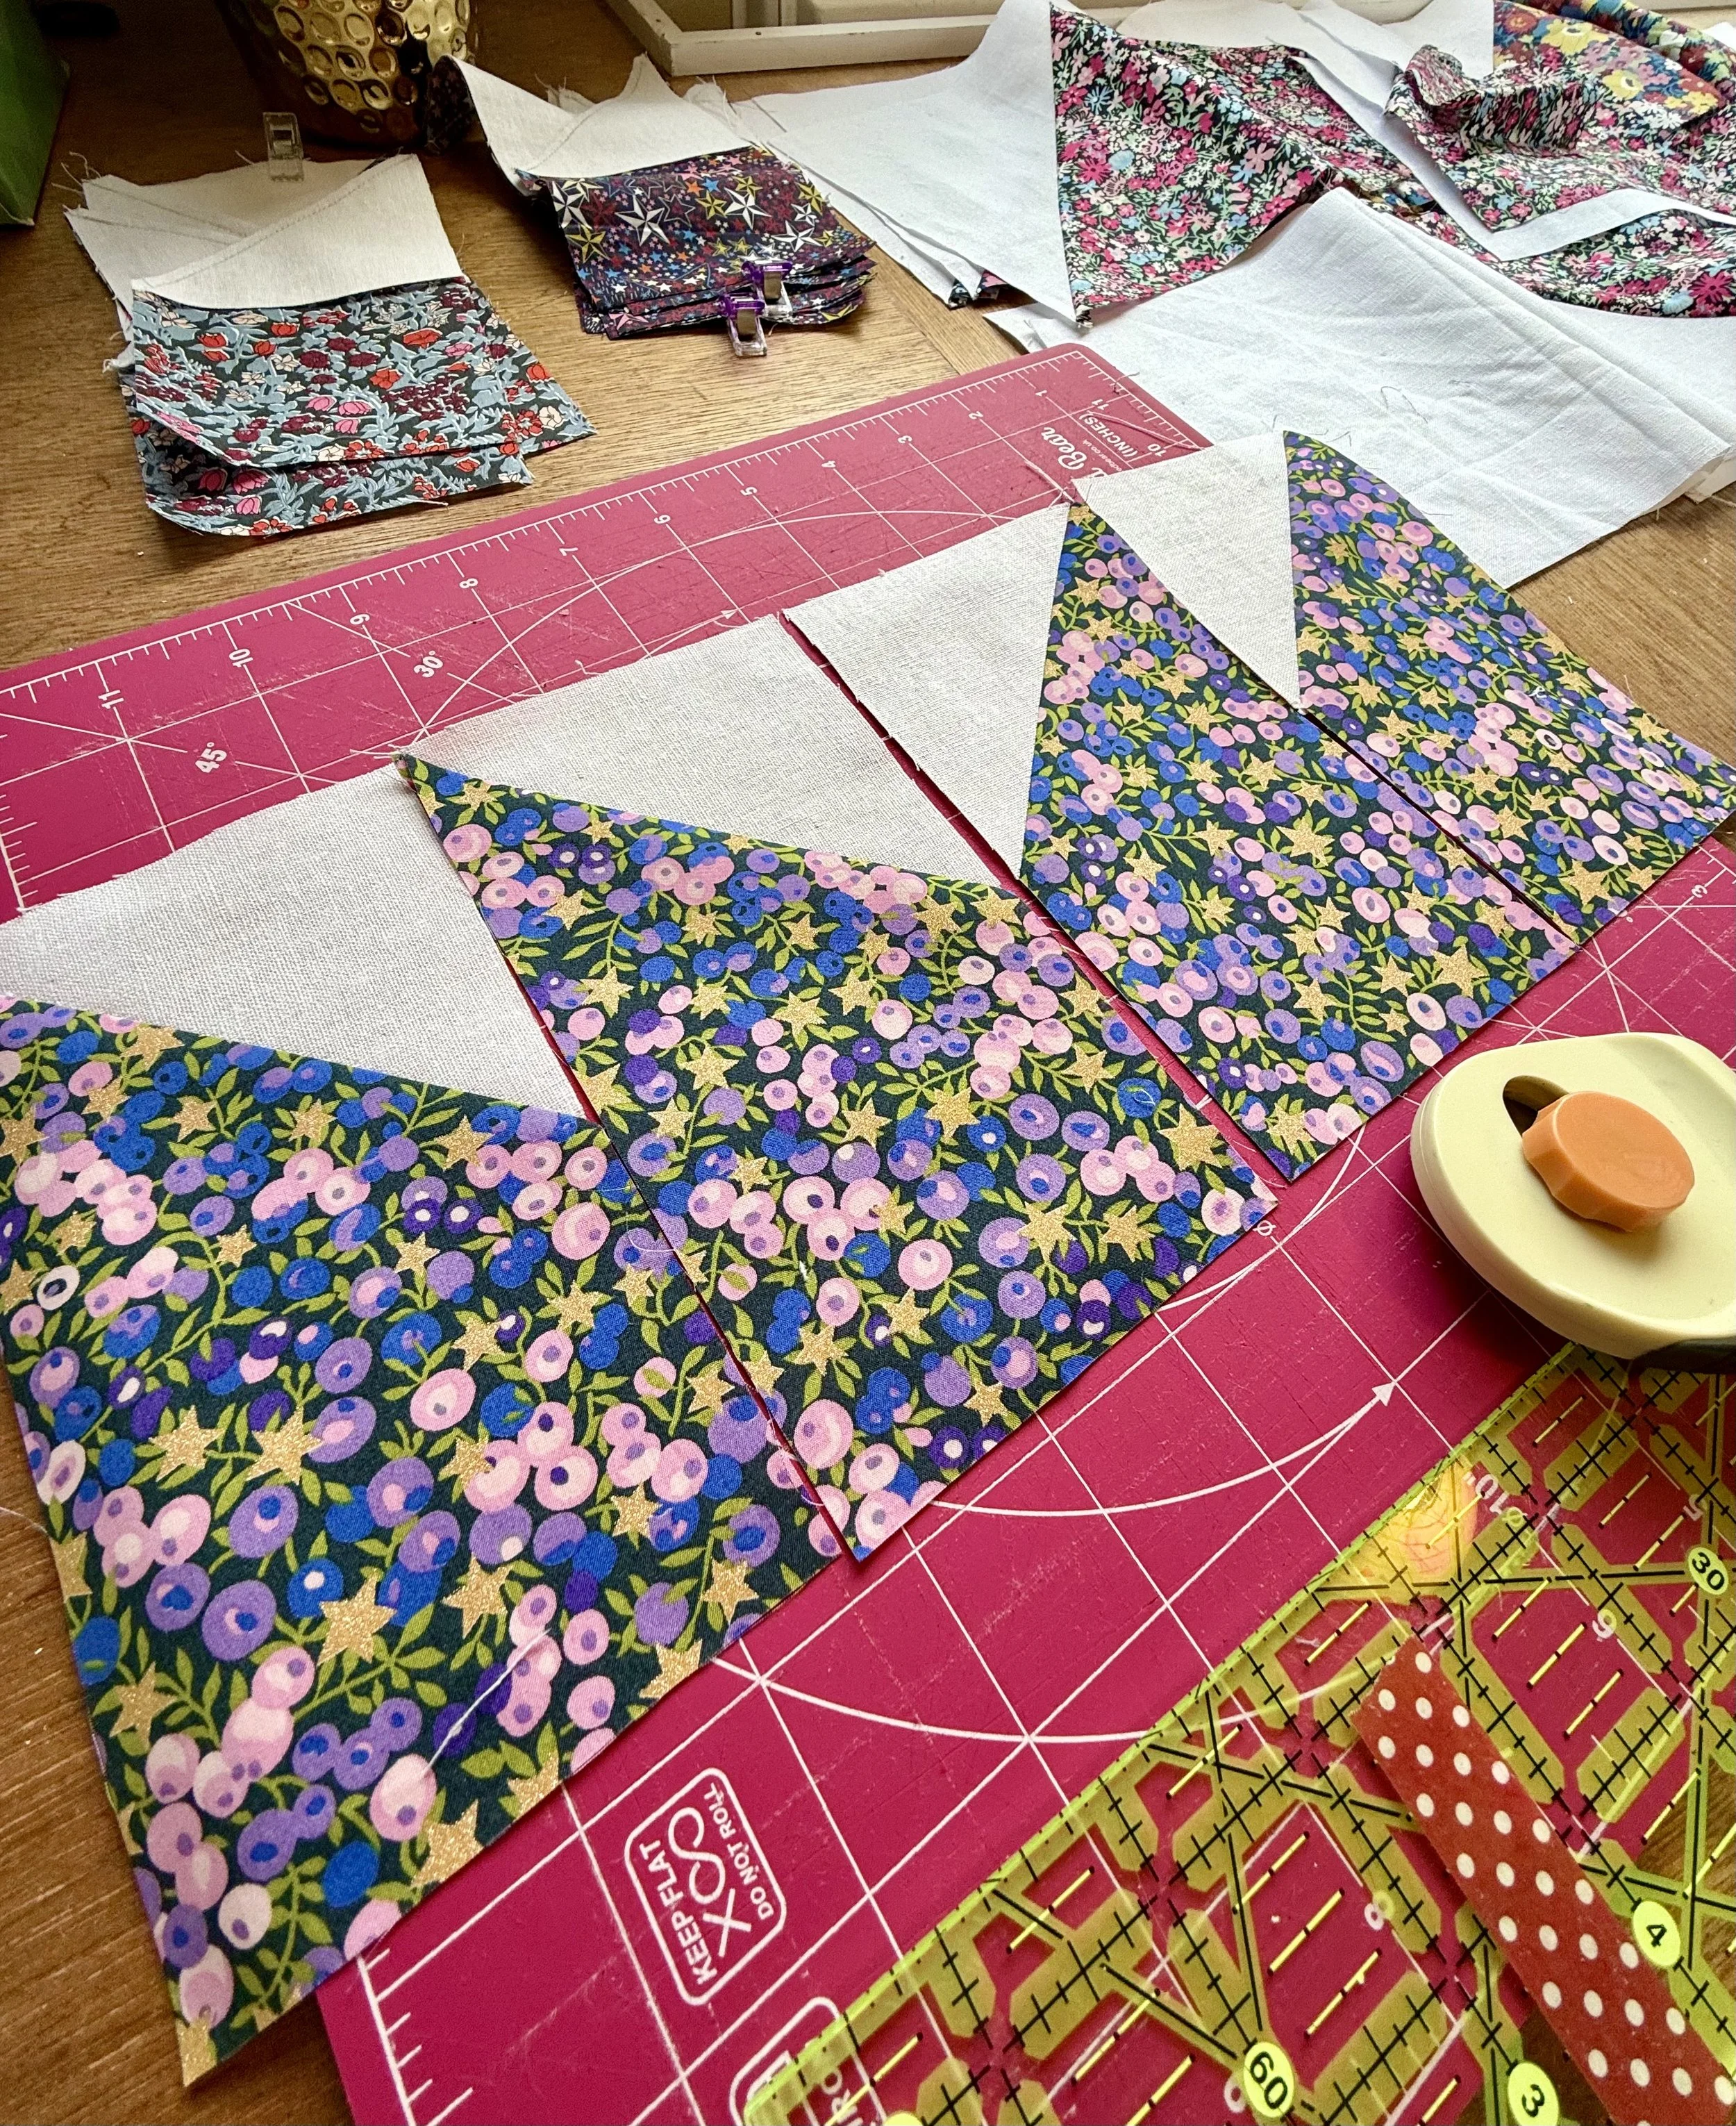
This is the goal for each bat block.
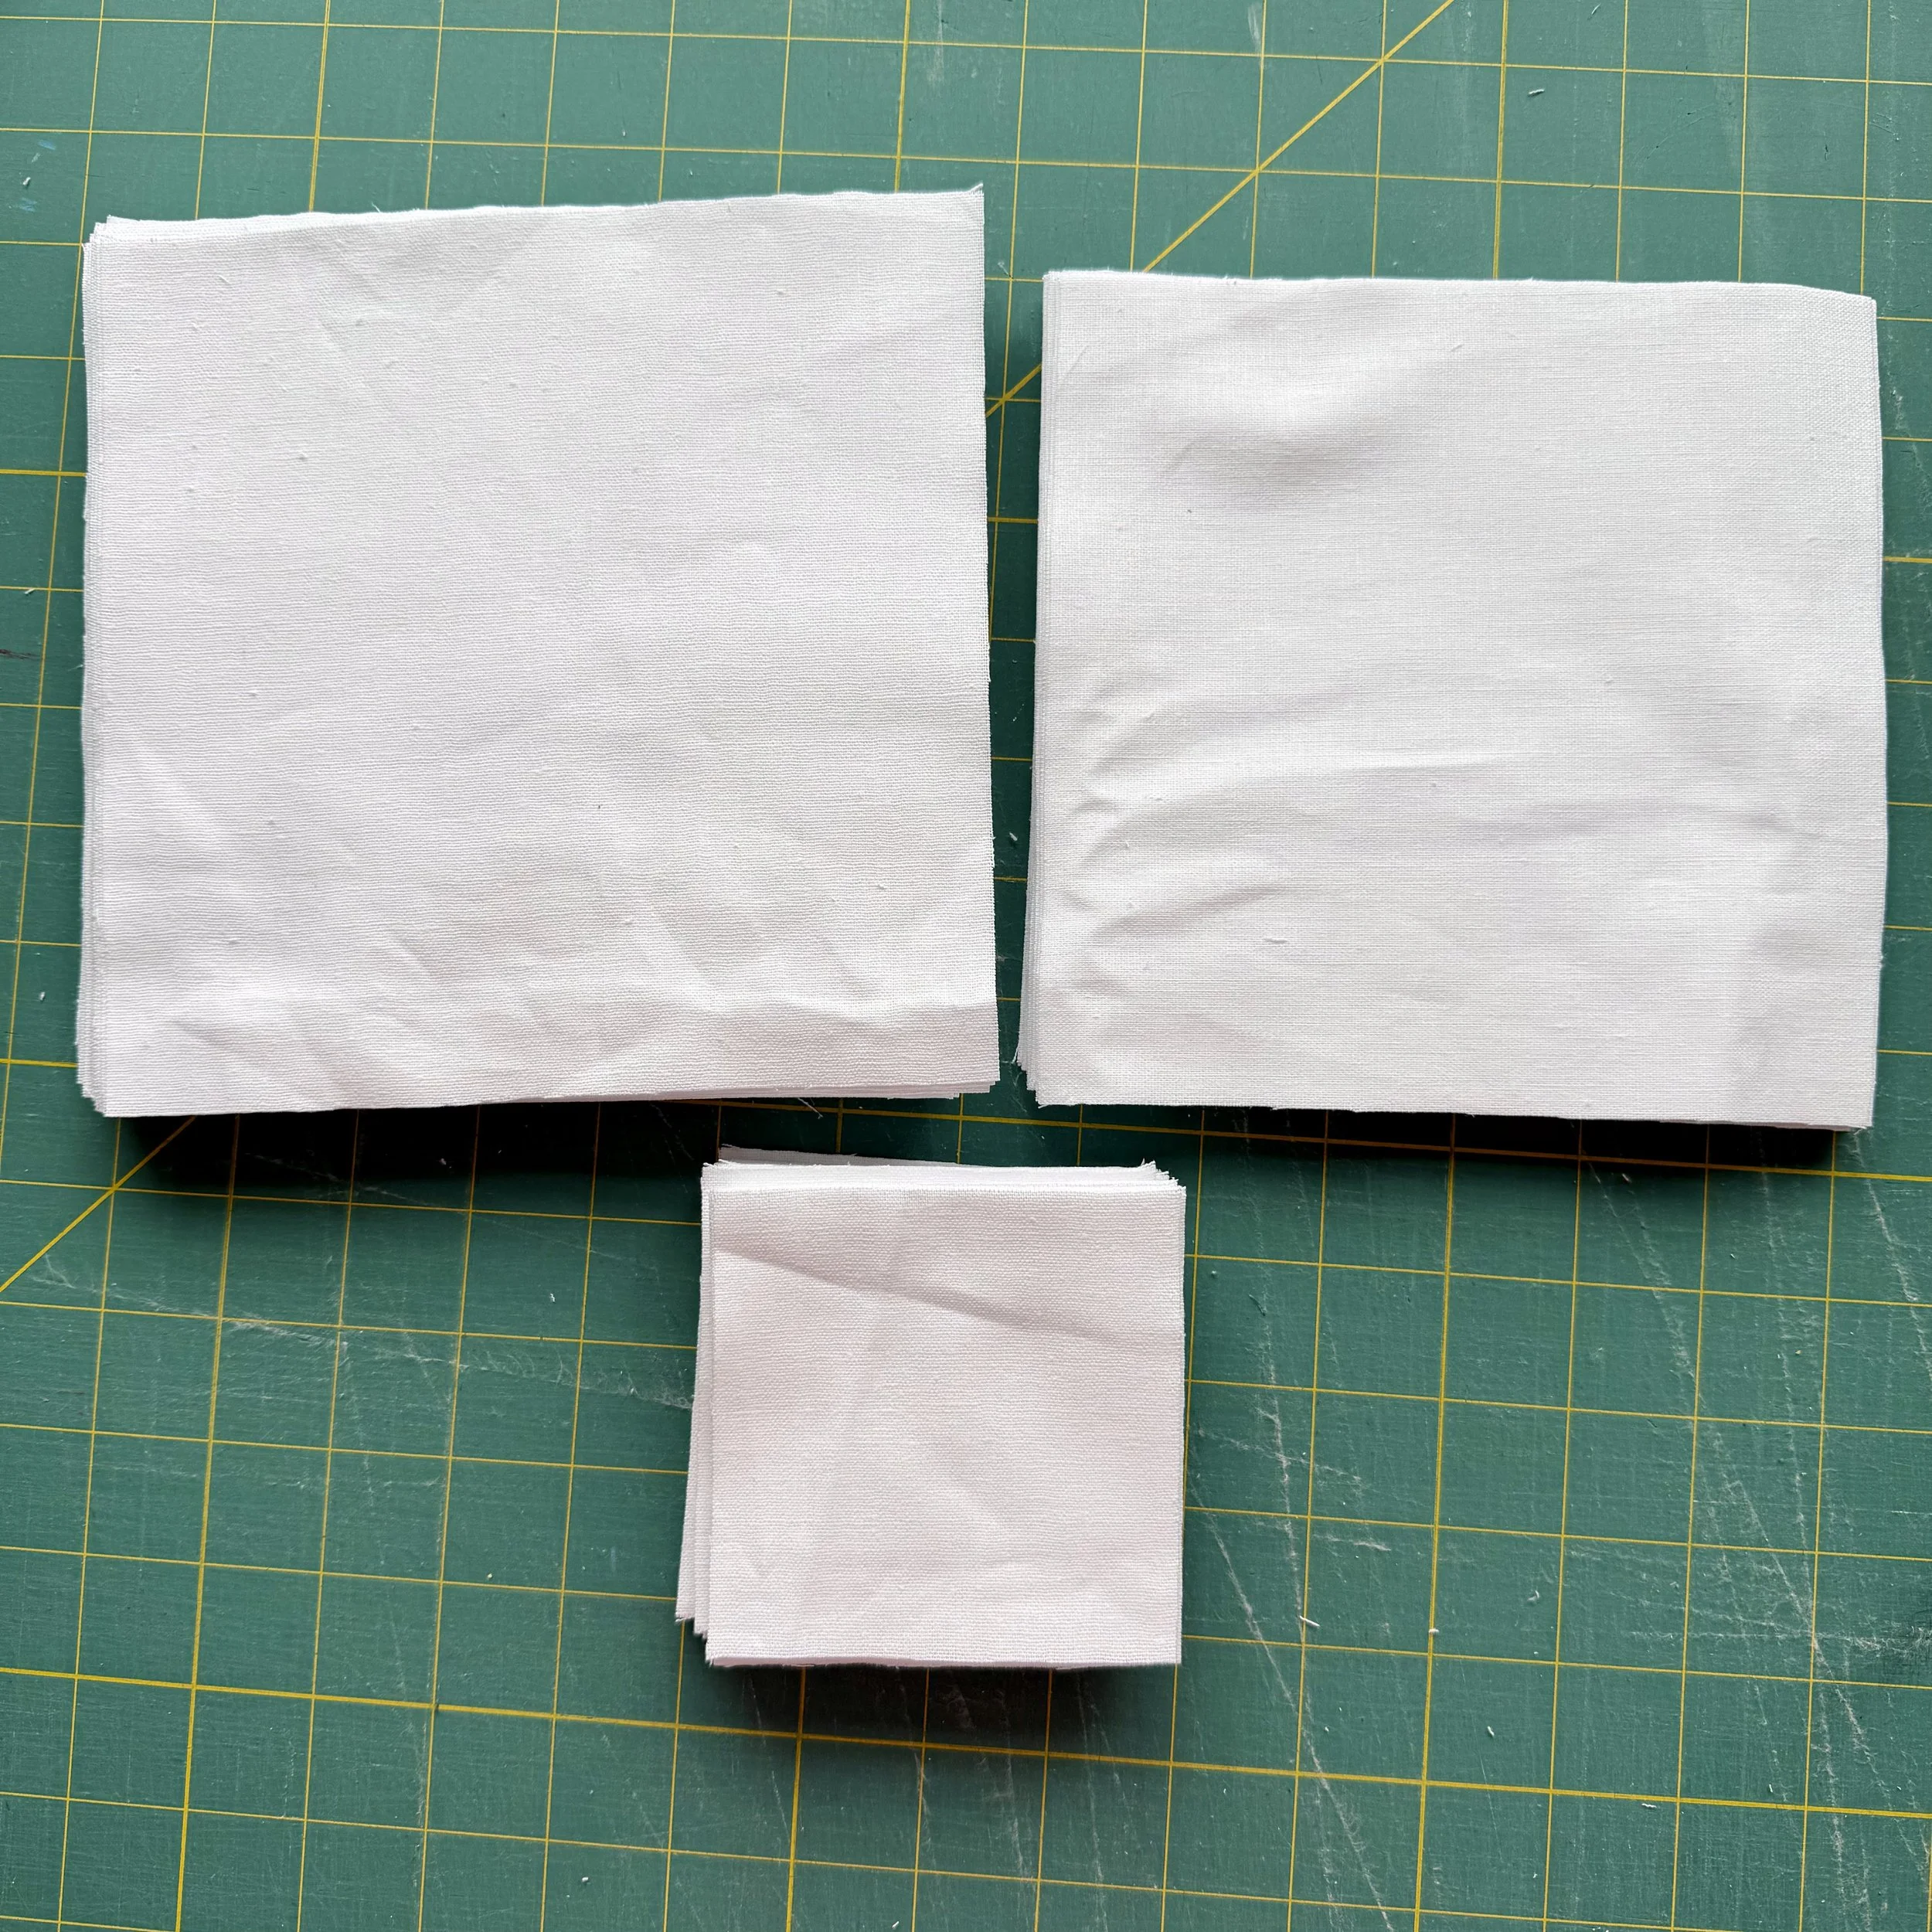
You need the small squares for your snowballed rectangles.
How to Make a Snowball Block
Here’s a quick rundown (the pattern has all the detailed measurements):
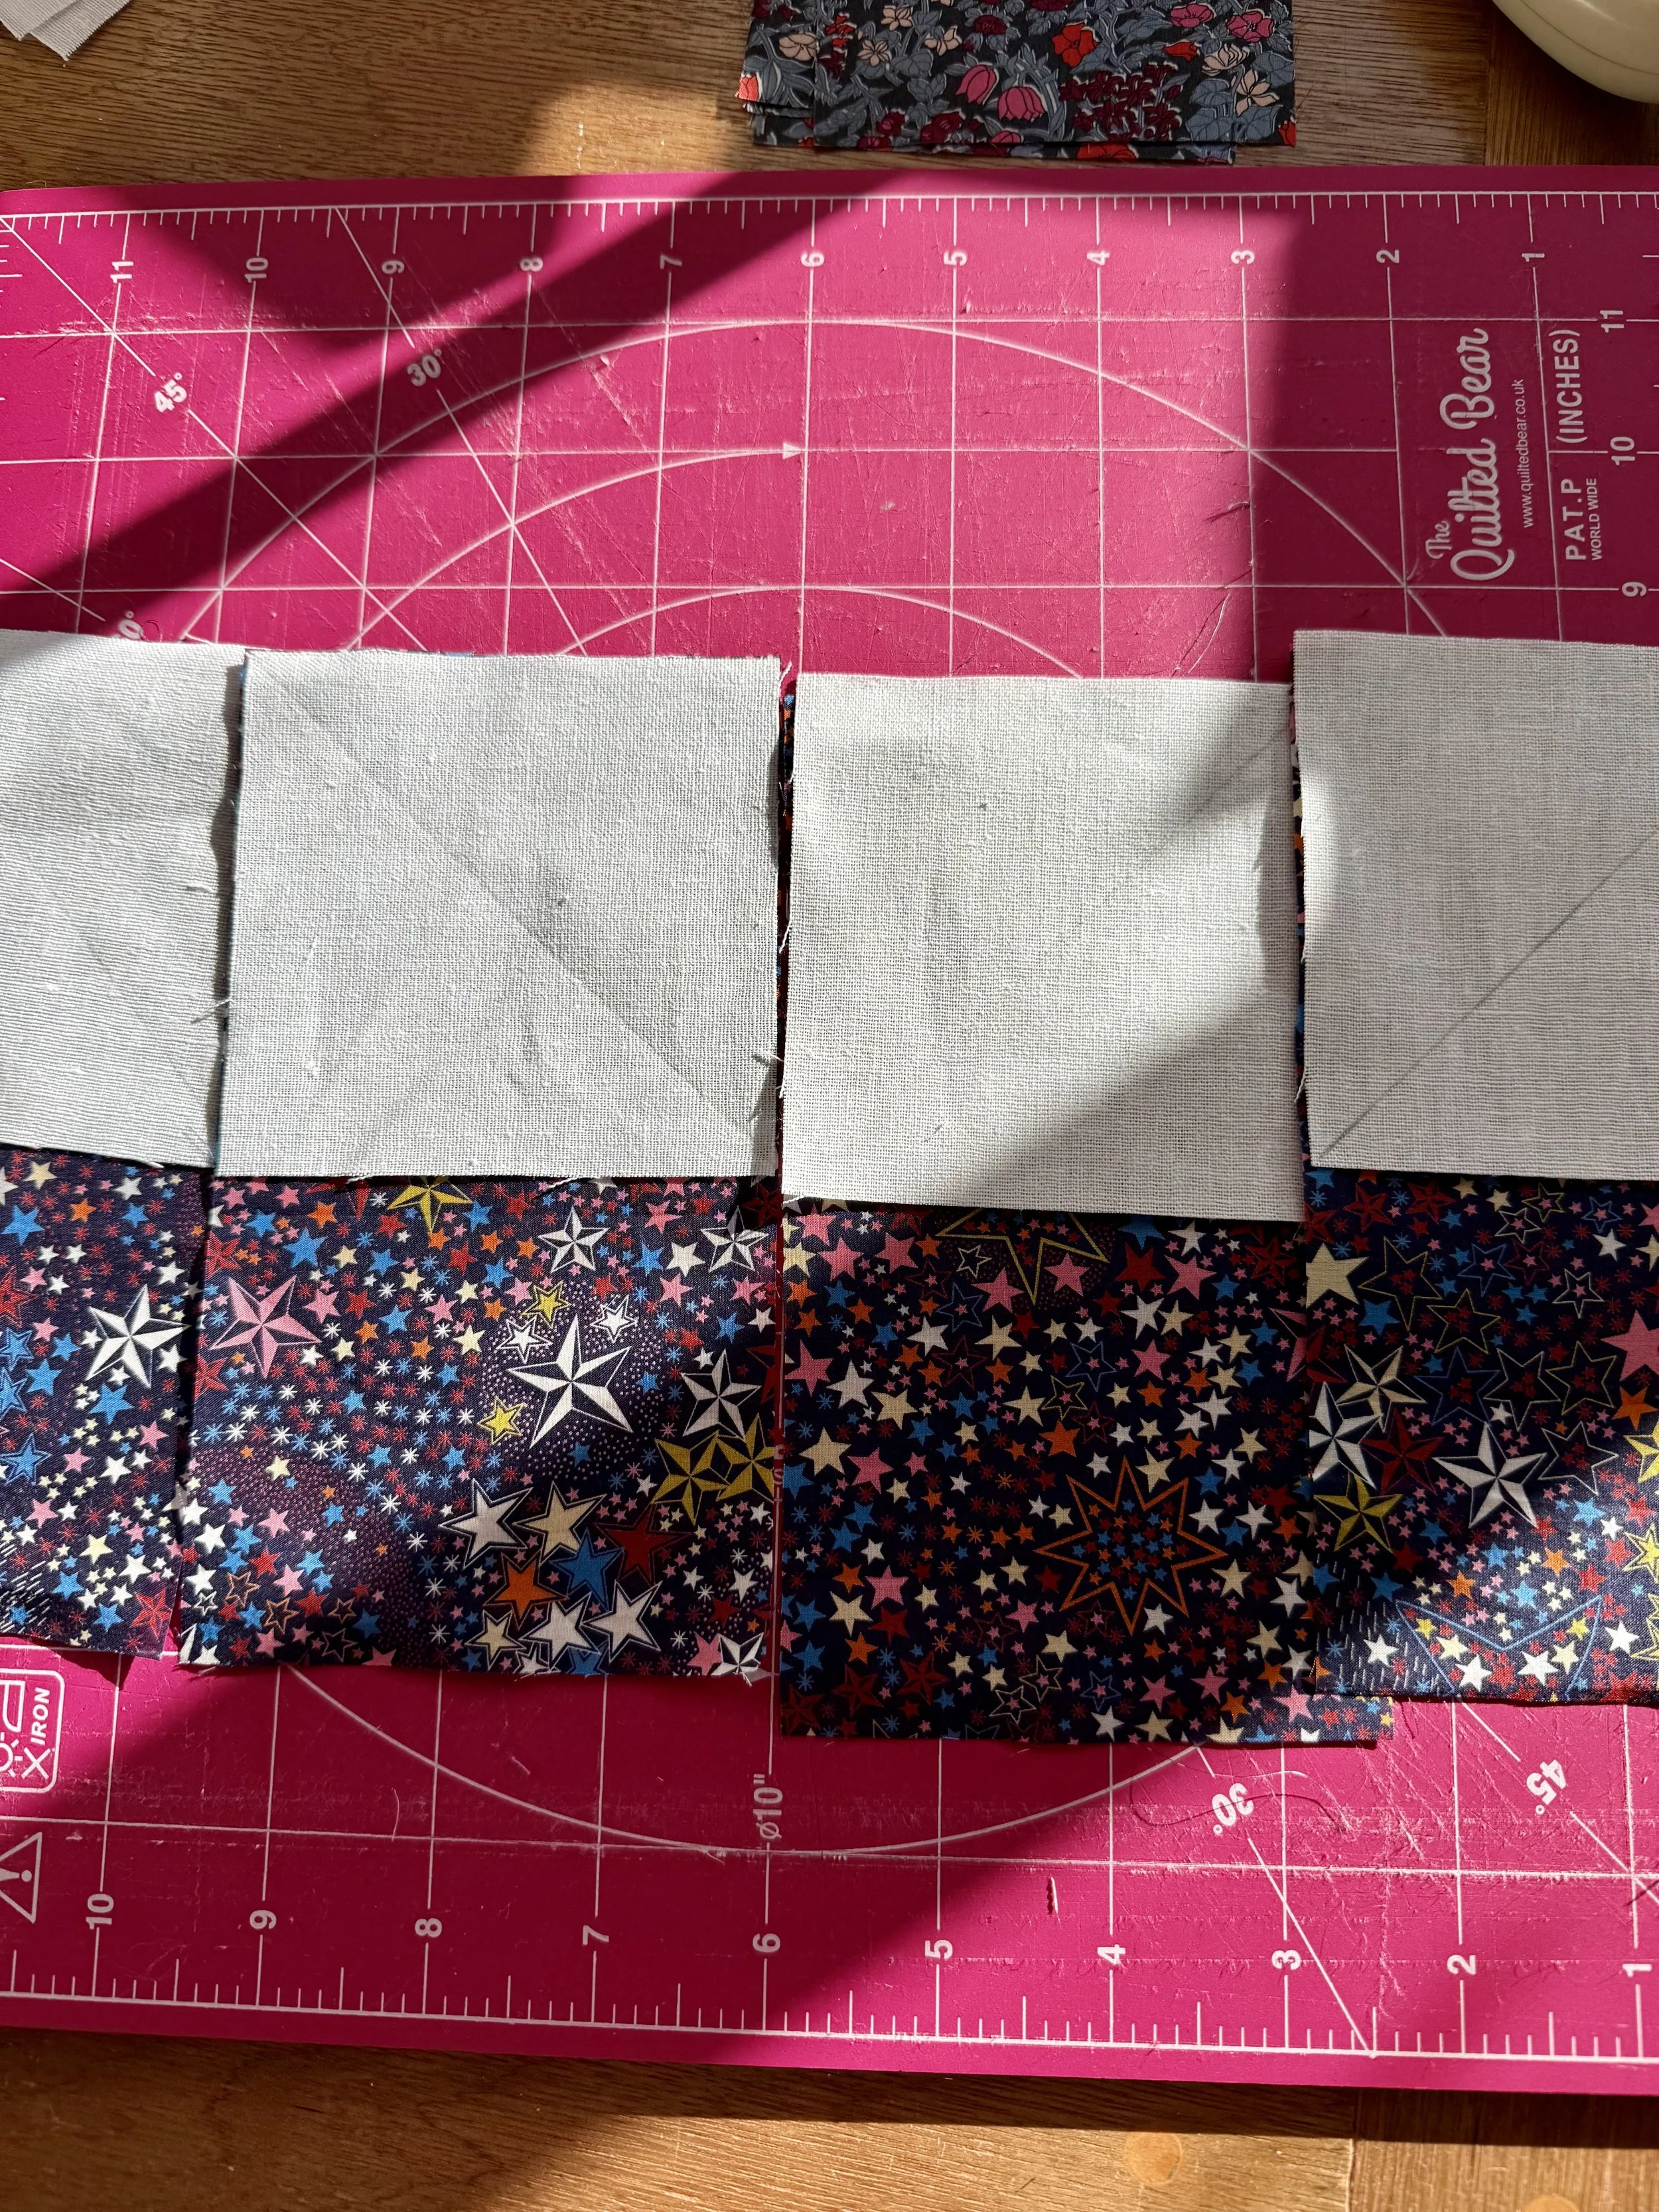
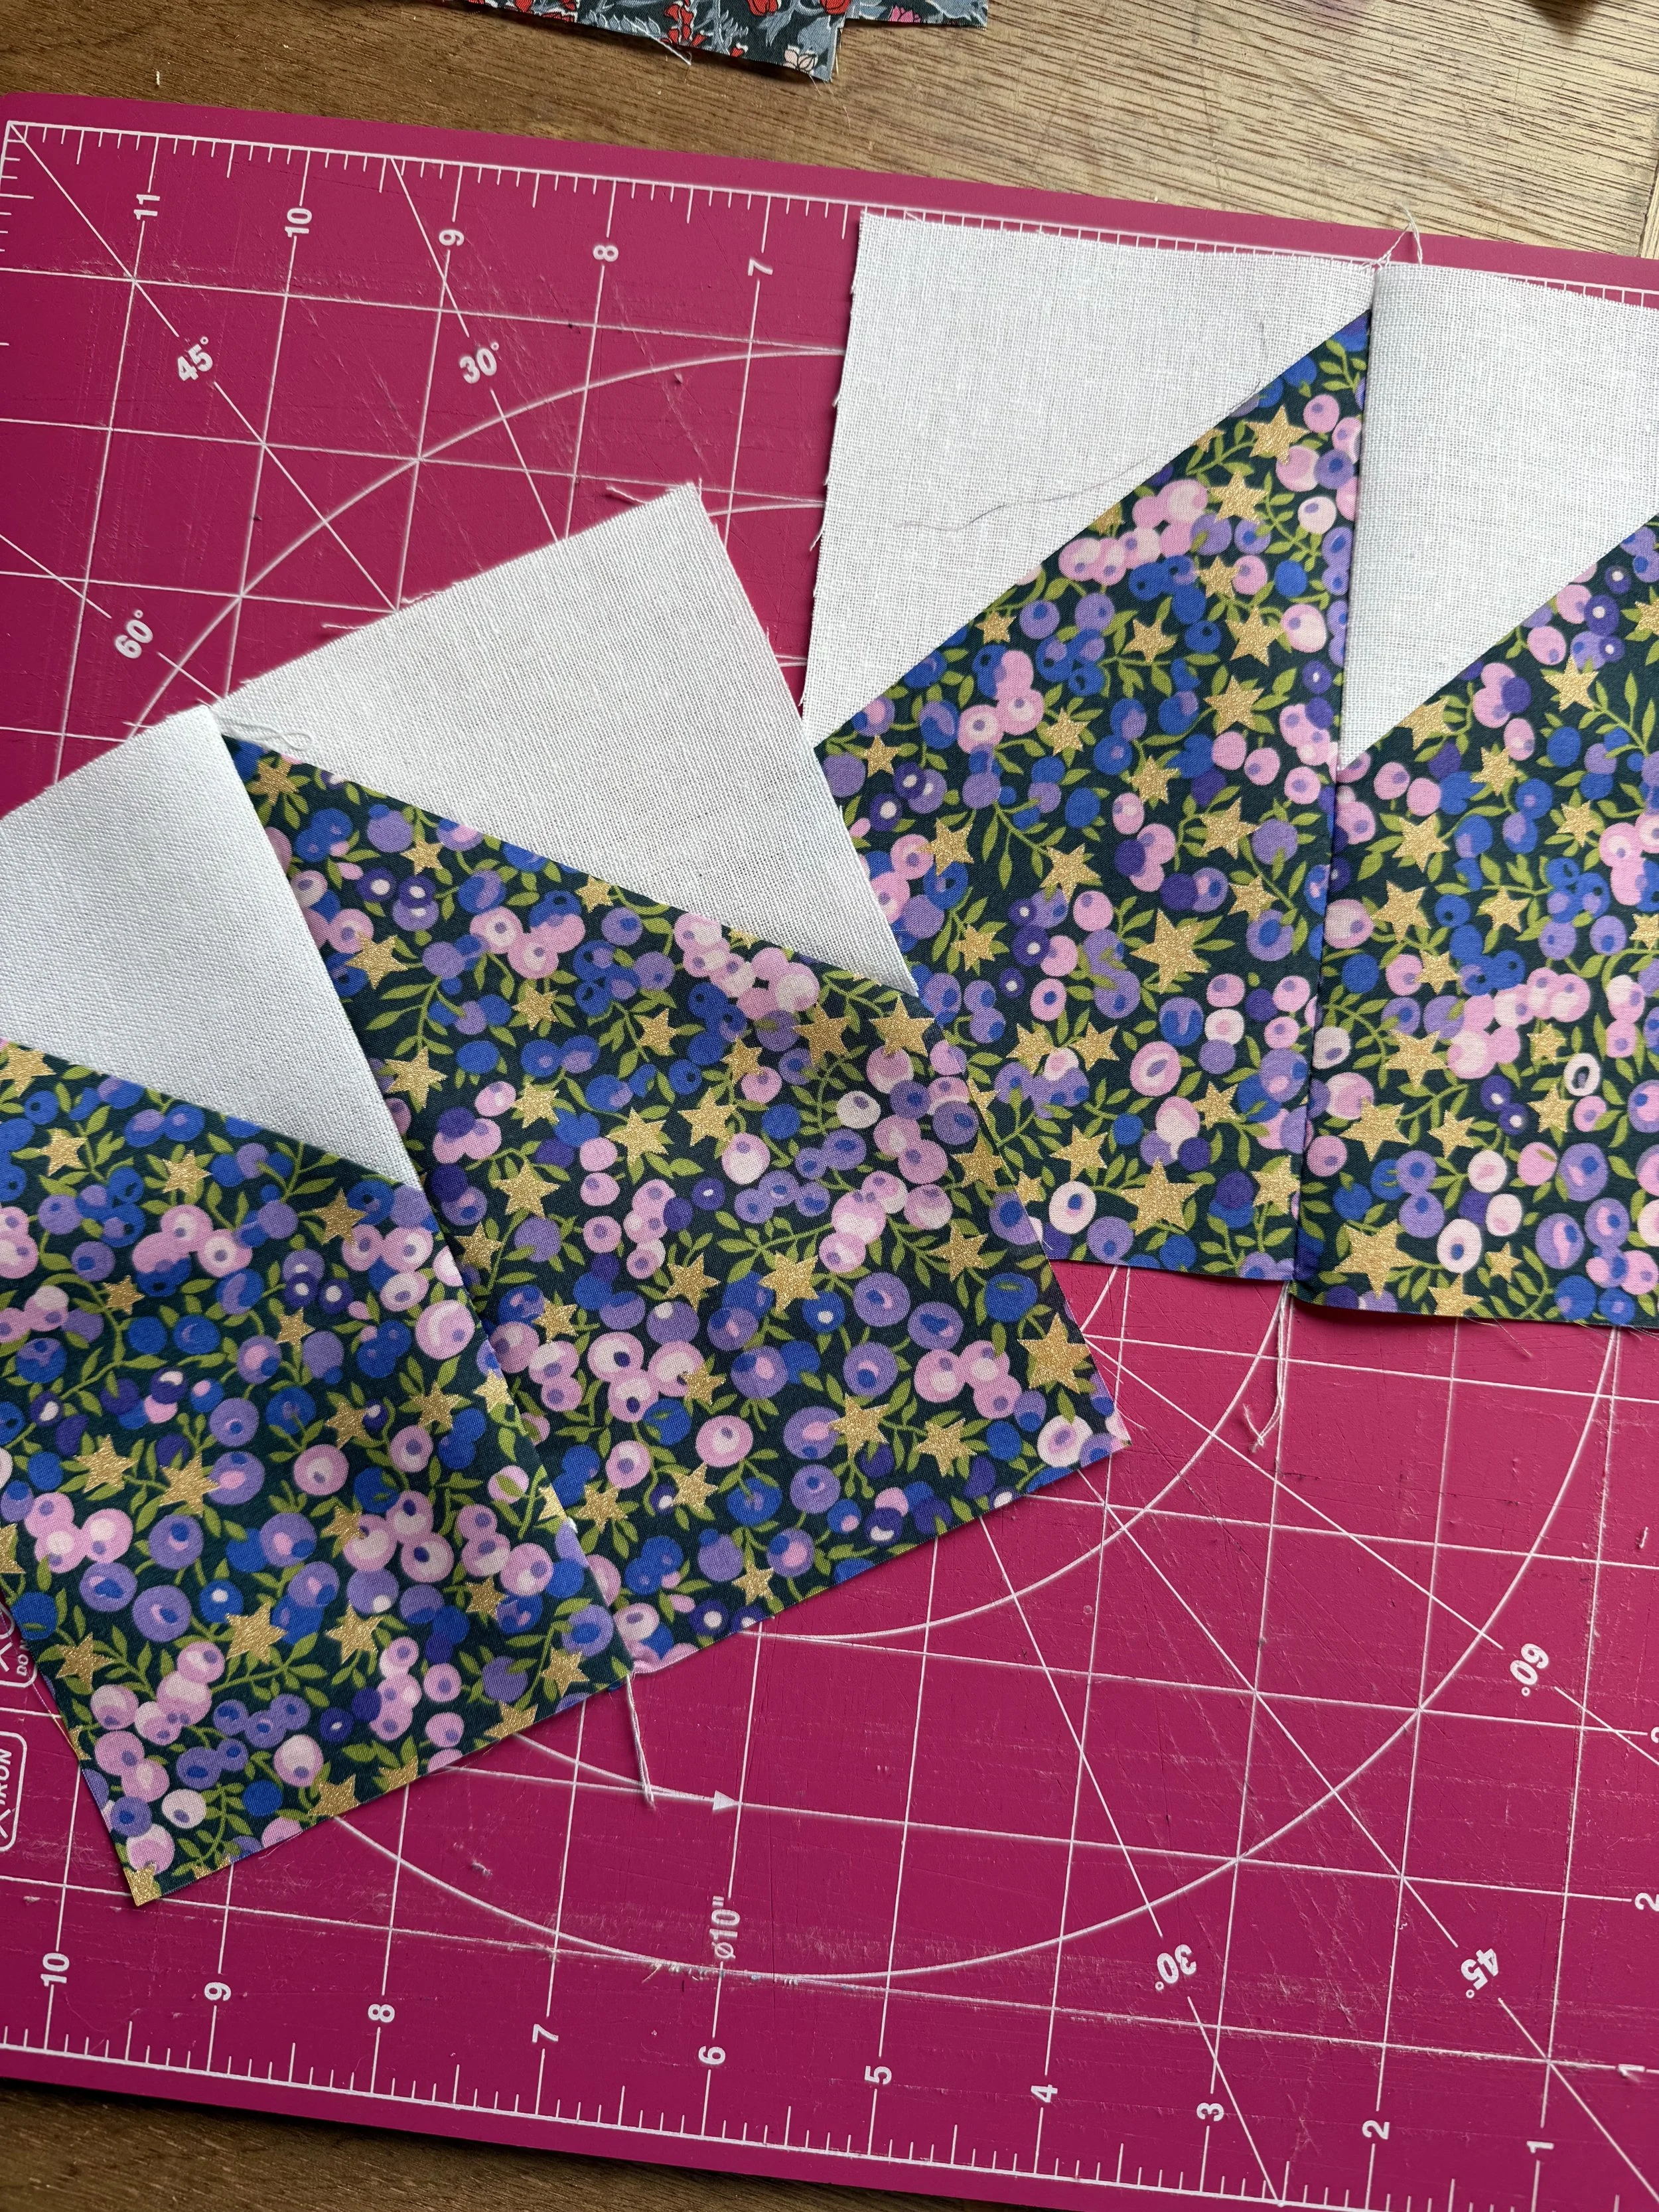
Using a rectangles of accent fabric, place a small square of background fabric directly on top, aligned with the short side of the rectangle.
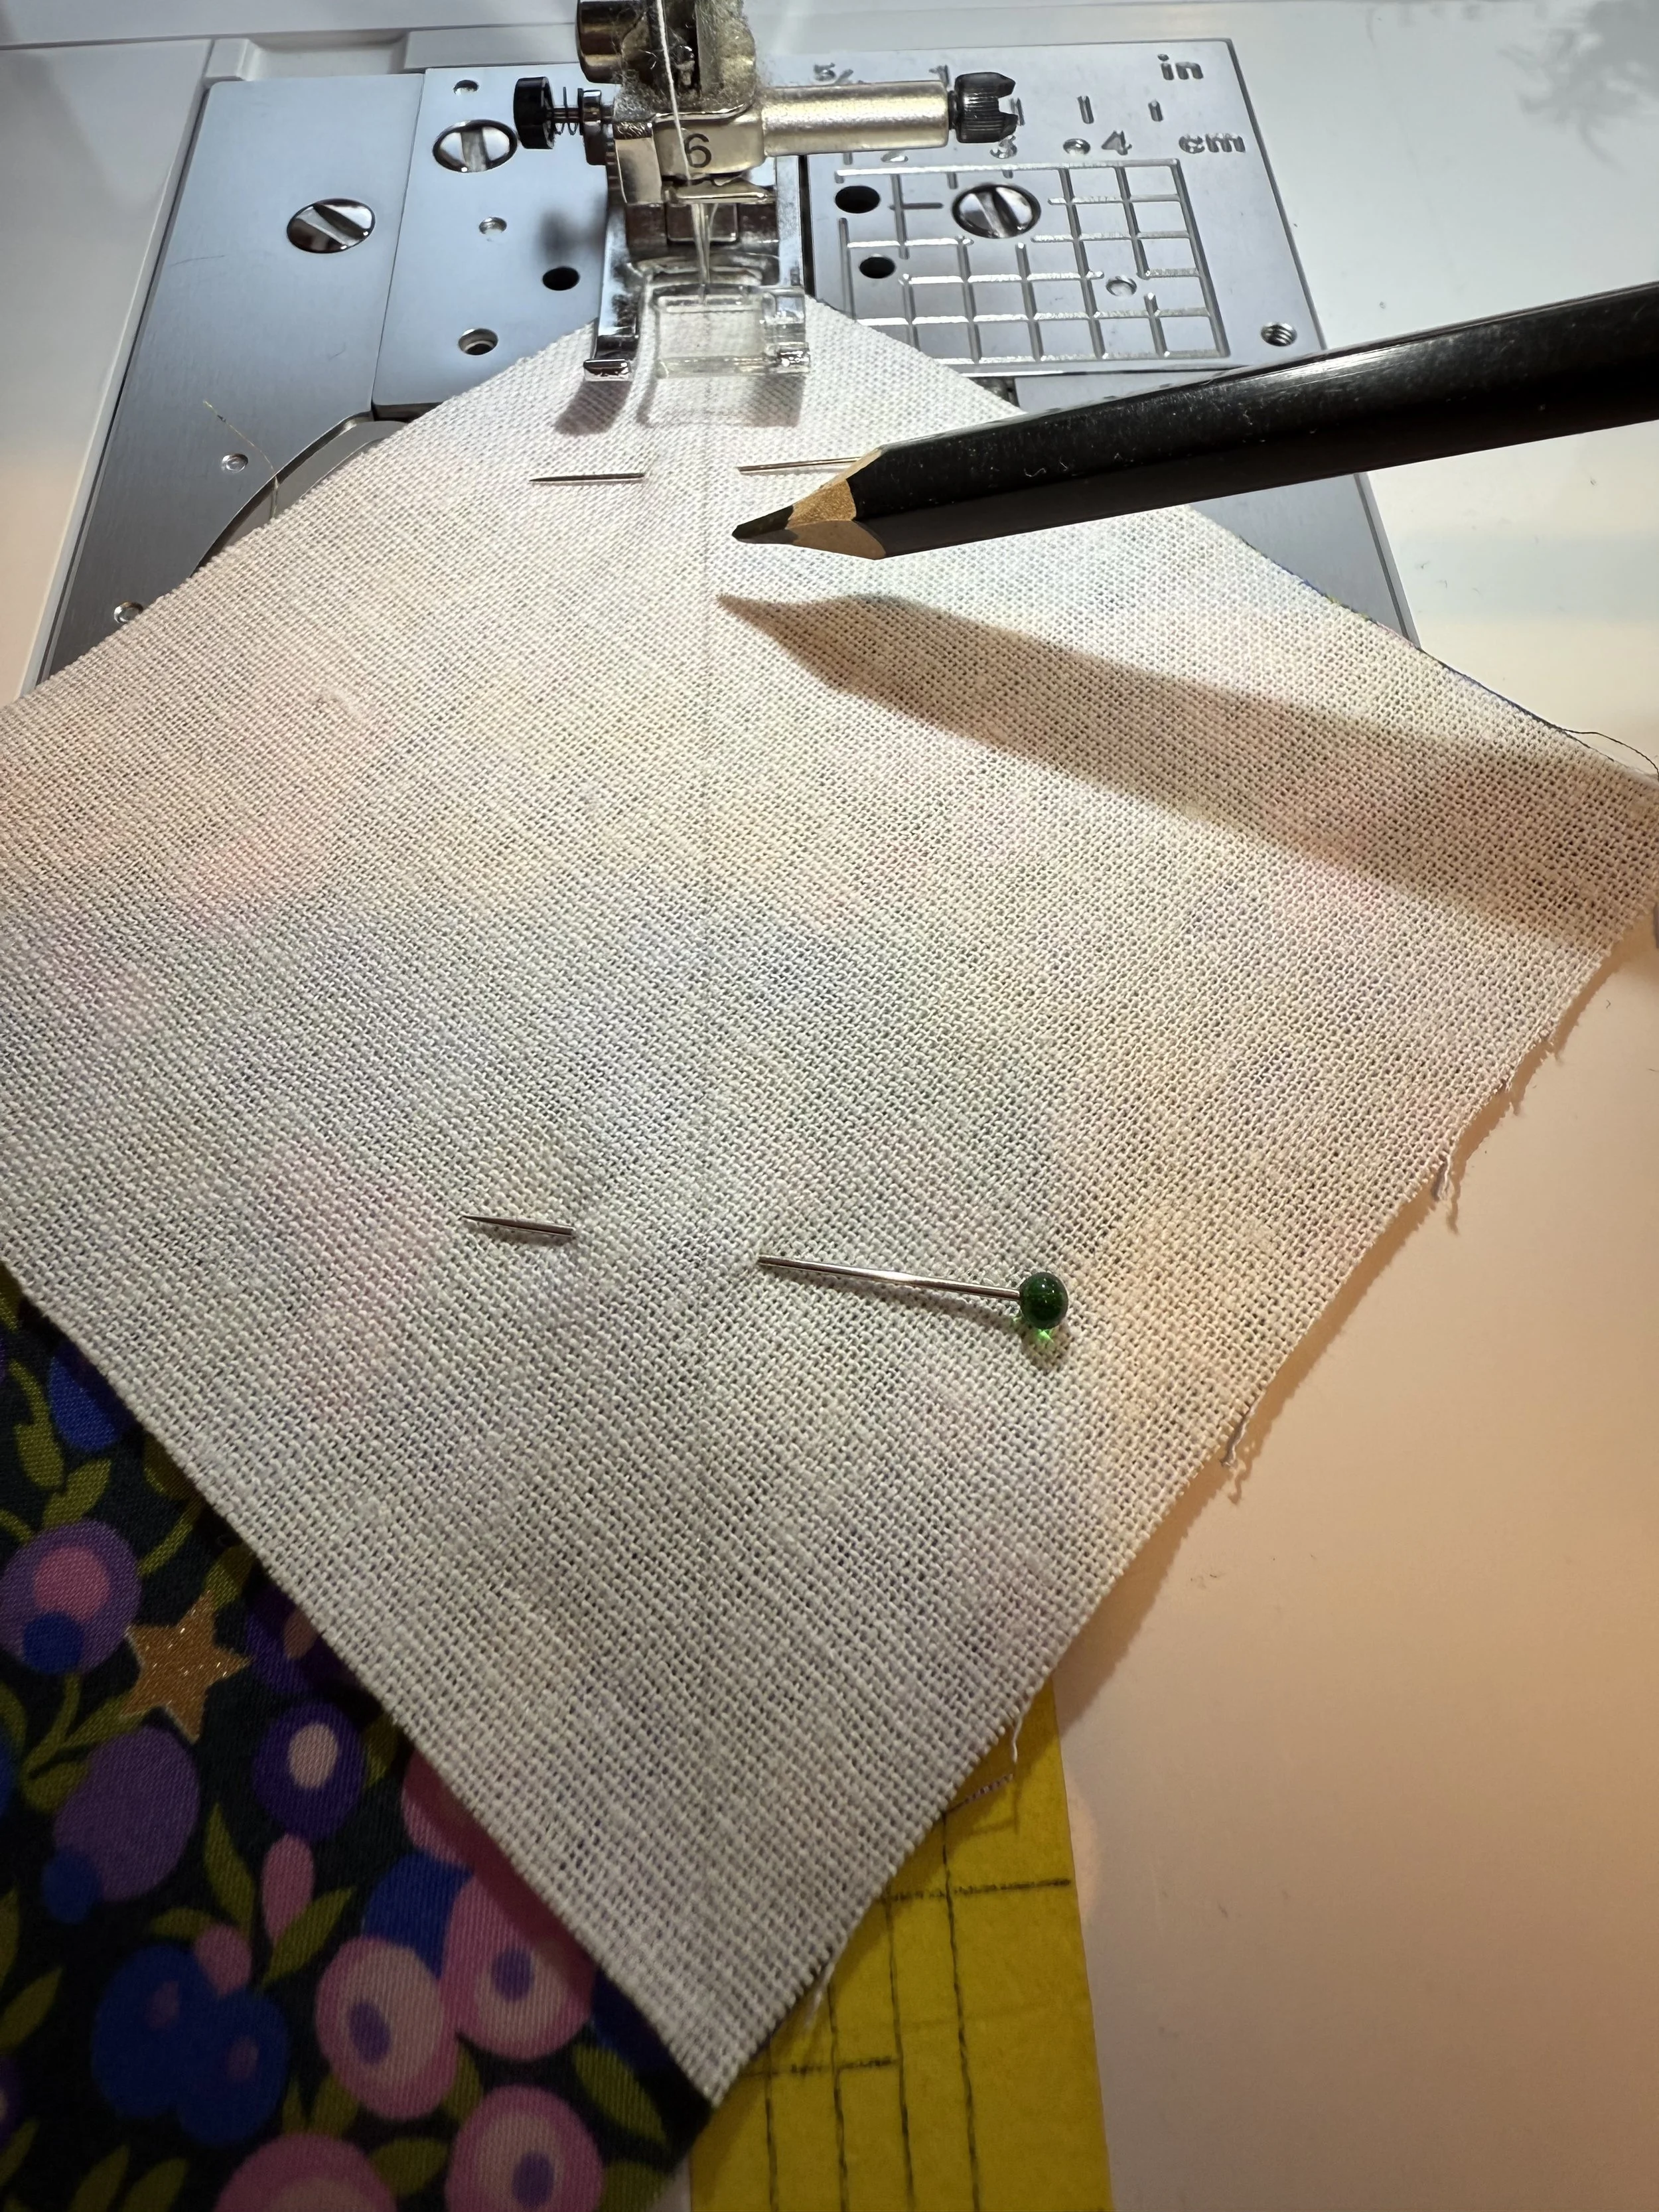
Mark the diagonal across each small square.
Sew on the marked line.
For a bonus HST sew 1/2” away from the line you have just stitched on the top side.
Cut between the stich lines leaving a seam allowance for the snowballed rectangle and your bonus HST.
Set you bonus HST aside for a future project (I’ll be showing you mini HST suggestions later).
Press the seam to the dark side.
Stitch on the line for a snowballed block.

For a bonus HST and to avoid waste stich 1/2” up from your marked line.

Cut between the lines so there is a seam allowance on both sides. Set the bonus HST for a future project.

Press to the dark side.
Each bat block needs 4 snowballed rectangles, 2 to the left and two to the right.

Finished snowballed rectangles for one bat block.
Tips for Crisp Snowballs
Mark carefully – A clear diagonal line makes all the difference. A hera marker, chalk, or fine pencil works great.
Avoid Chewing - Use a scrap piece of fabric to run ahead in your machine so fine corners don’t get sucked into the machine.
Chain piece – Sew one corner on each block at a time, then rotate and repeat for the next corners.
Ear Joininging - When sewing the two left or two right rectangles together, align from the snowballed corner down.
Don’t skip trimming – Snip away those excess dog ears or if the the bottoms of the accent fabric do not quite align.
Press well – A hot iron helps those corners lay flat for easier assembly later.
Sew the left ear and the right ear rectangles together. Keep in fabric piles until we are ready to assemble the whole bat block.
My Progress
Keeping all my pieces organised in piles with wonder clips helps me stay organised so I can bring all the pieces for one bat block together.
Your Task This Week
Sew up your snowball blocks.
Trim and press them for a neat finish.
Share your blocks (or even your trimmings pile!) with the hashtag #BatDiscoQuiltAlong so we can all admire your progress.
Next week, the real magic happens — we’ll start assembling the quilt top and watching Bat Disco come to life.
Bat Disco Quilt Along Schedule
Here’s what’s coming up over the next 6 weeks:
Week 1 – Fabric Pull
Show off your spooky (or not-so-spooky!) fabric picks.
Week 2 – Cutting
Get those fabrics prepped and organized.
Week 3 – Half-Square Triangles
Lots of HSTs = lots of disco magic!
Week 4 – Snowball Blocks
Cute, simple, and oh-so-satisfying.
Week 5 – Quilt Top Assembly
Layout + rows = Bat Disco starting to shine!
Week 6 – Quilting & Finish
Quilting, binding, and celebrating your Bat Disco!
Use #BatDiscoQuiltAlong so we can all follow along and cheer you on!
🦇Bat Fact!
In old European folklore, bats became linked with Halloween because they were often seen swooping around bonfires during autumn festivals, chasing the insects drawn to the flames.
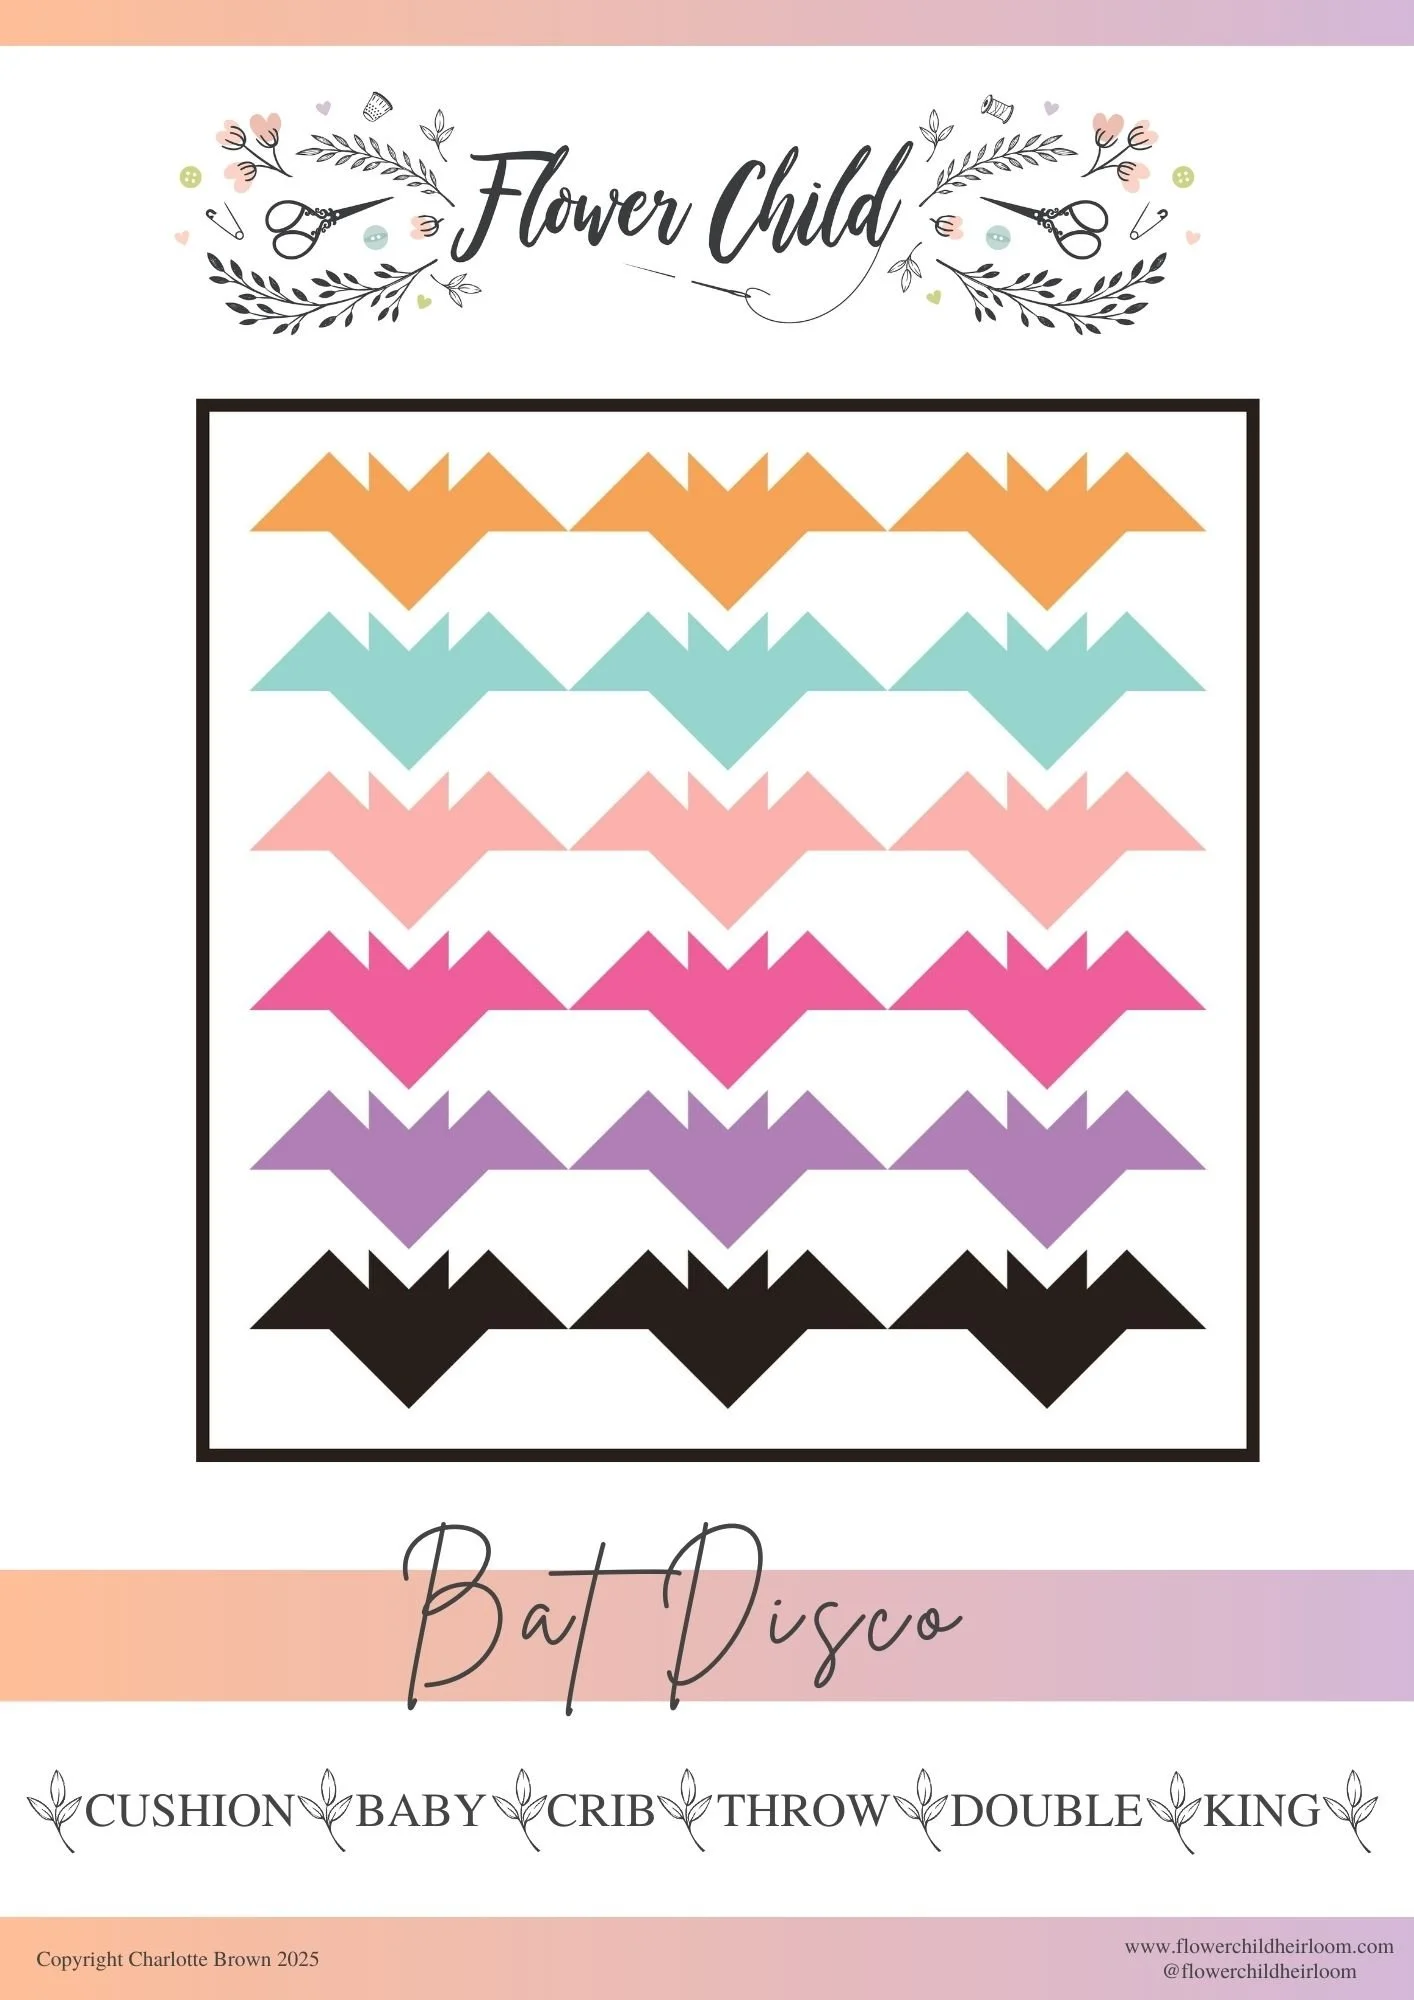
Inspired by my favourite time of the year and decorating my home for my family, I created this super beginner friendly Halloween quilt. These cute bats can be made in any colours, monochrome and you could even add embroidery onto their faces. Have lots of spooky fun!
I always go above and beyond on my patterns including detailed step-by-step instructions and tips across this 16 page quilt pattern.
The introductory offer ends next Monday 8th September at 8pm GMT.
The QAL starts on 4th September and everyone who has purchased the pattern. Please let me know in your purchase notes if you wish to sign up to the free emails.