

Bat Disco Quilt Along – Week Five
Making the Bat Blocks
Welcome back to the Bat Disco Quilt Along! We’re officially in Week Five, and this is where the magic starts to happen — we’re making our bat blocks! I have decided to add an extra week to our QAL so it gives you a chance to focus on this stage before we rush into layouts.
Over the last few weeks, you’ve built up your pieces: half-square triangles, snowball blocks, and all those carefully labelled background and accent cuts. Now it’s time to bring them together into your bats!
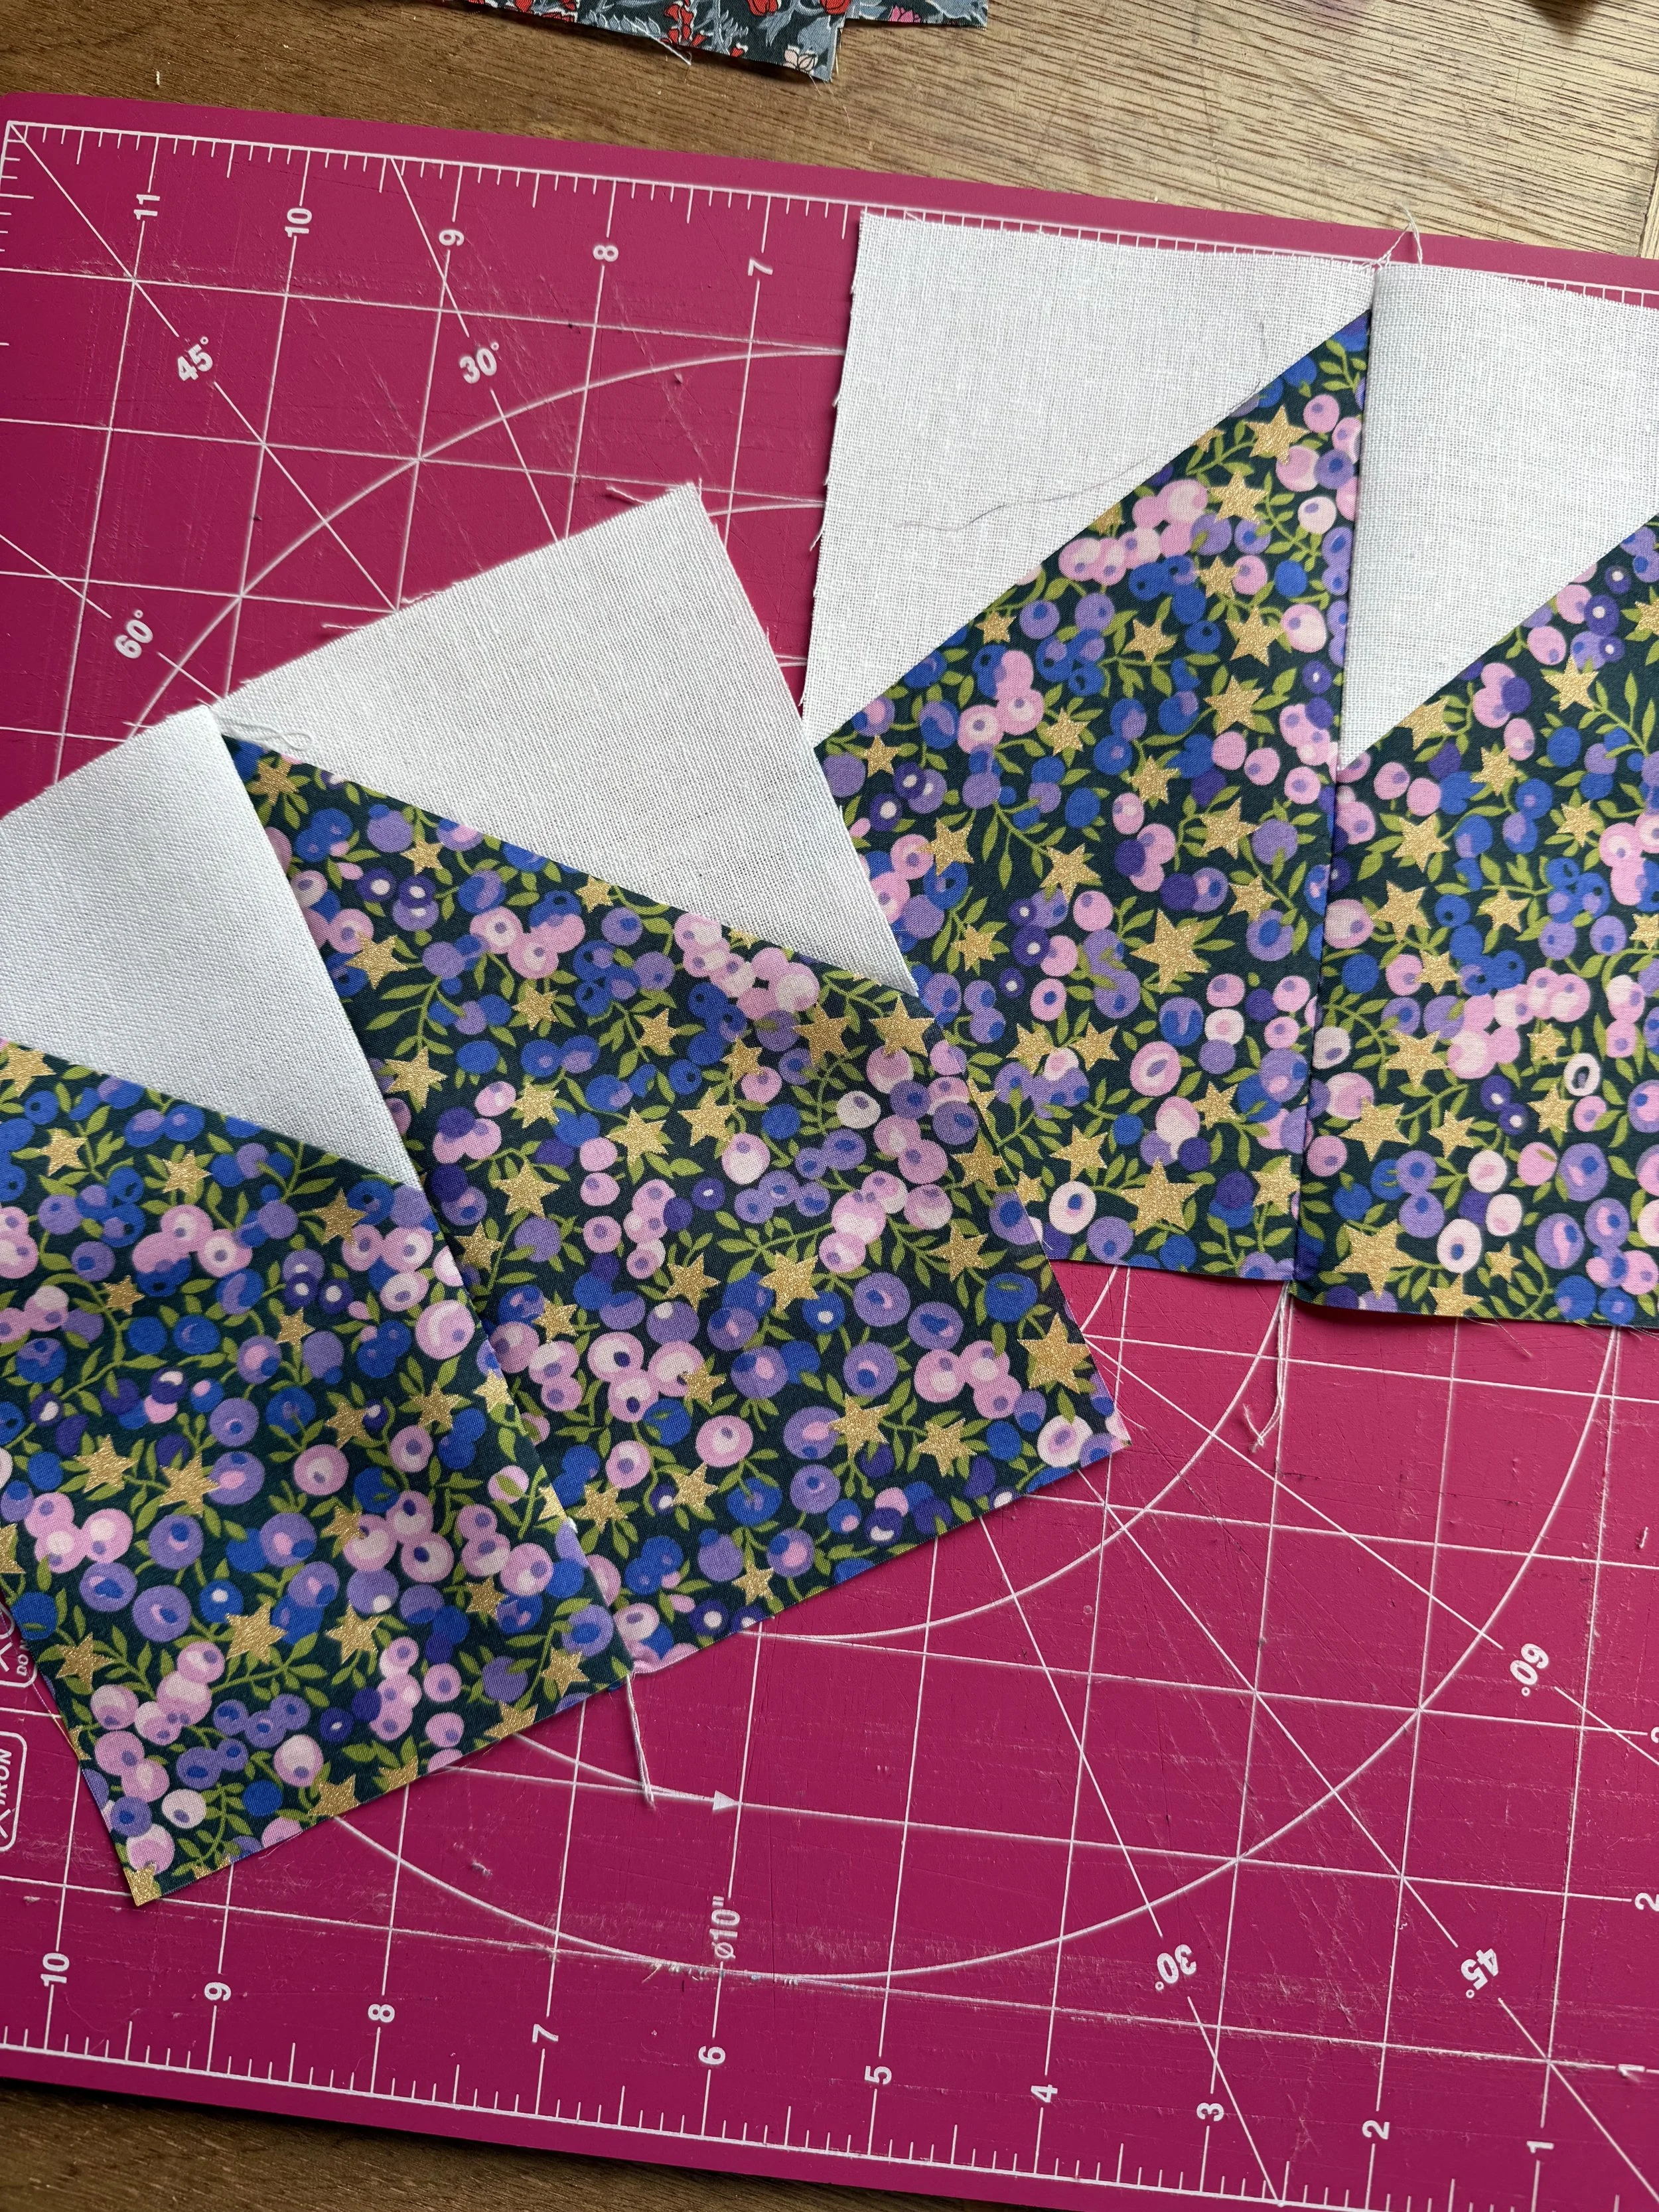
This is where I left you last week making bat ear. These two now square pieces form the top centre of the block.
Building Your Bat Blocks
Lay out your pieces – Each bat block is made up of a mix of half-square triangles, snowballs, and background squares. Take a moment to lay them out according to the pattern diagram so you can see your bat take shape before you sew.
Sew in sections – Start by joining the four squares of the top row, then the four squares of the bottom row, press and bring the two halves together to complete the bat.
Mind your direction – Check that all your triangles are facing the right way before you sew — it’s easy for one sneaky piece to flip!
Press with care – Press seams open or to one side, whichever gives you the flattest result. I press my seams in one direction on the top row and the opposite direction on the bottom row to nest the seams. A good press really makes those bat wings stand out.
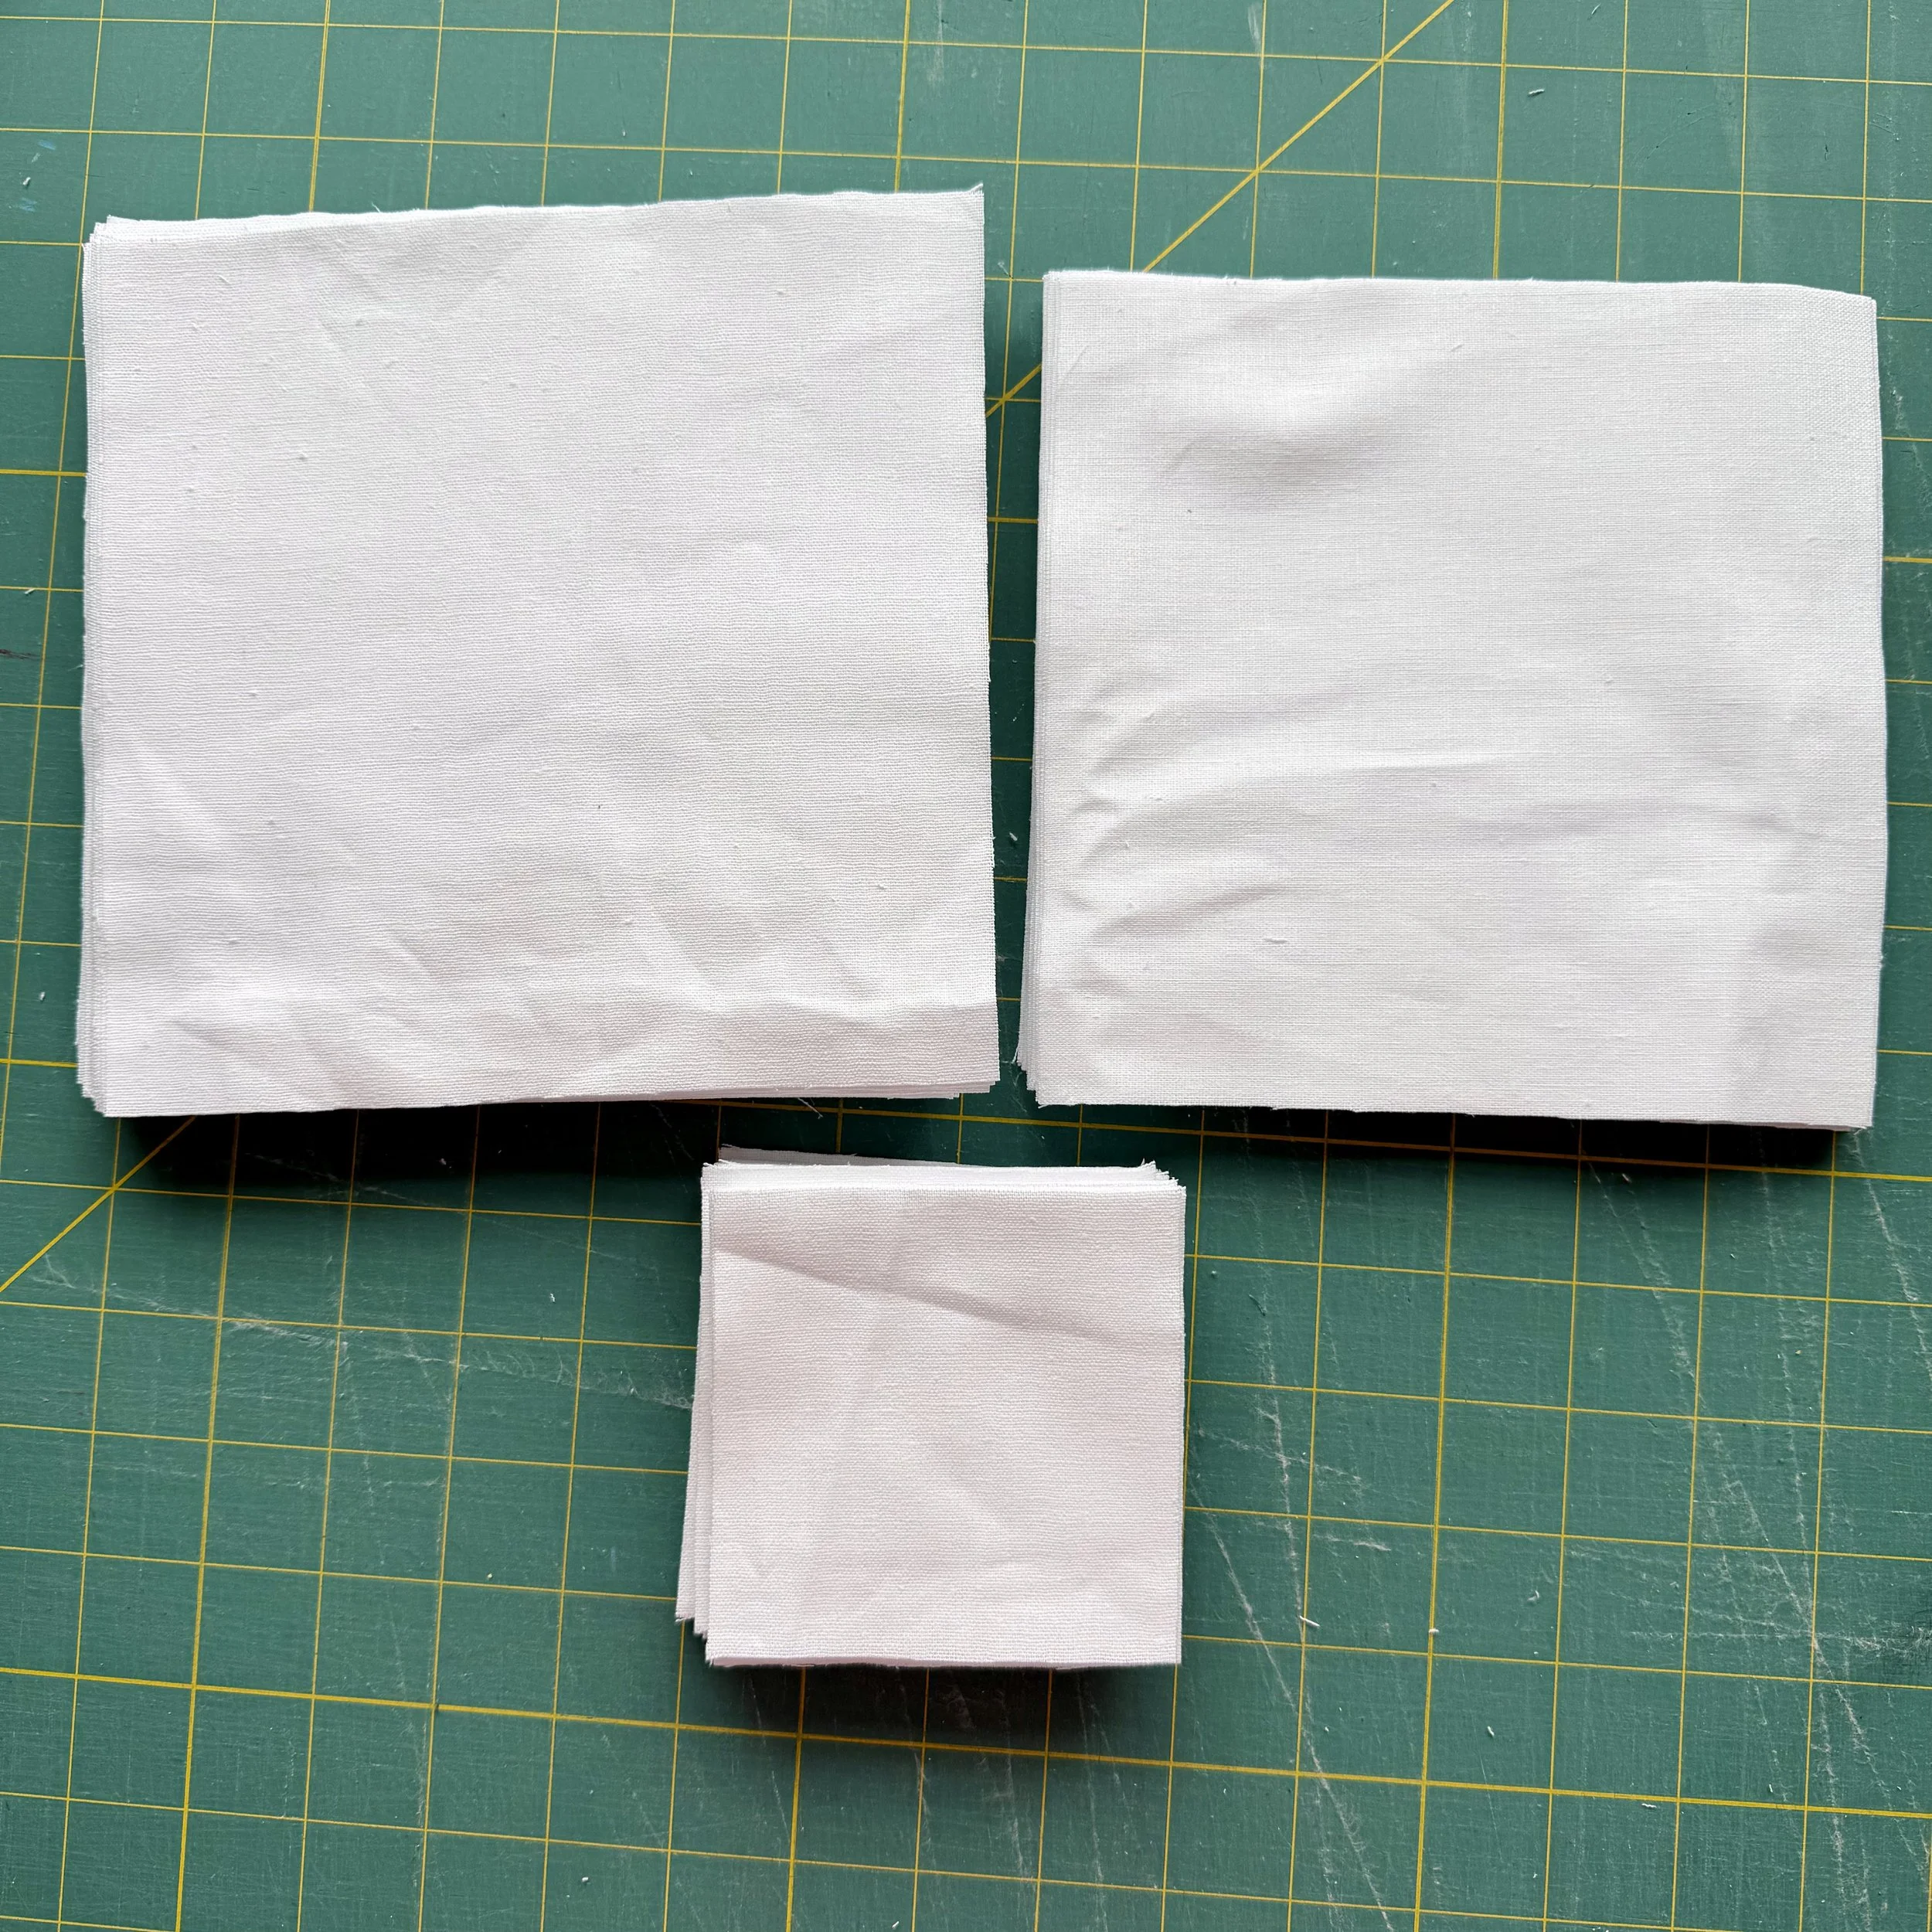
You need the medium squares now to put on the bottom comers of the bat block.
Tips for Success
Batch sew – Make all your bats at once, or work colour by colour. Find your rhythm!
Chain piecing – If you’re making multiple bats, chain piecing can really speed things up.
Keep it organised – I put all the pieces for one block together with a wonder clip.
Line up your points first and pin or clip and then sew together. If your points don’t line up perfectly, press the seam allowance in the opposite direction and it may make all the difference.
Step back and admire – Once you finish a few bats, lay them out together — it’s so rewarding to see them take shape.

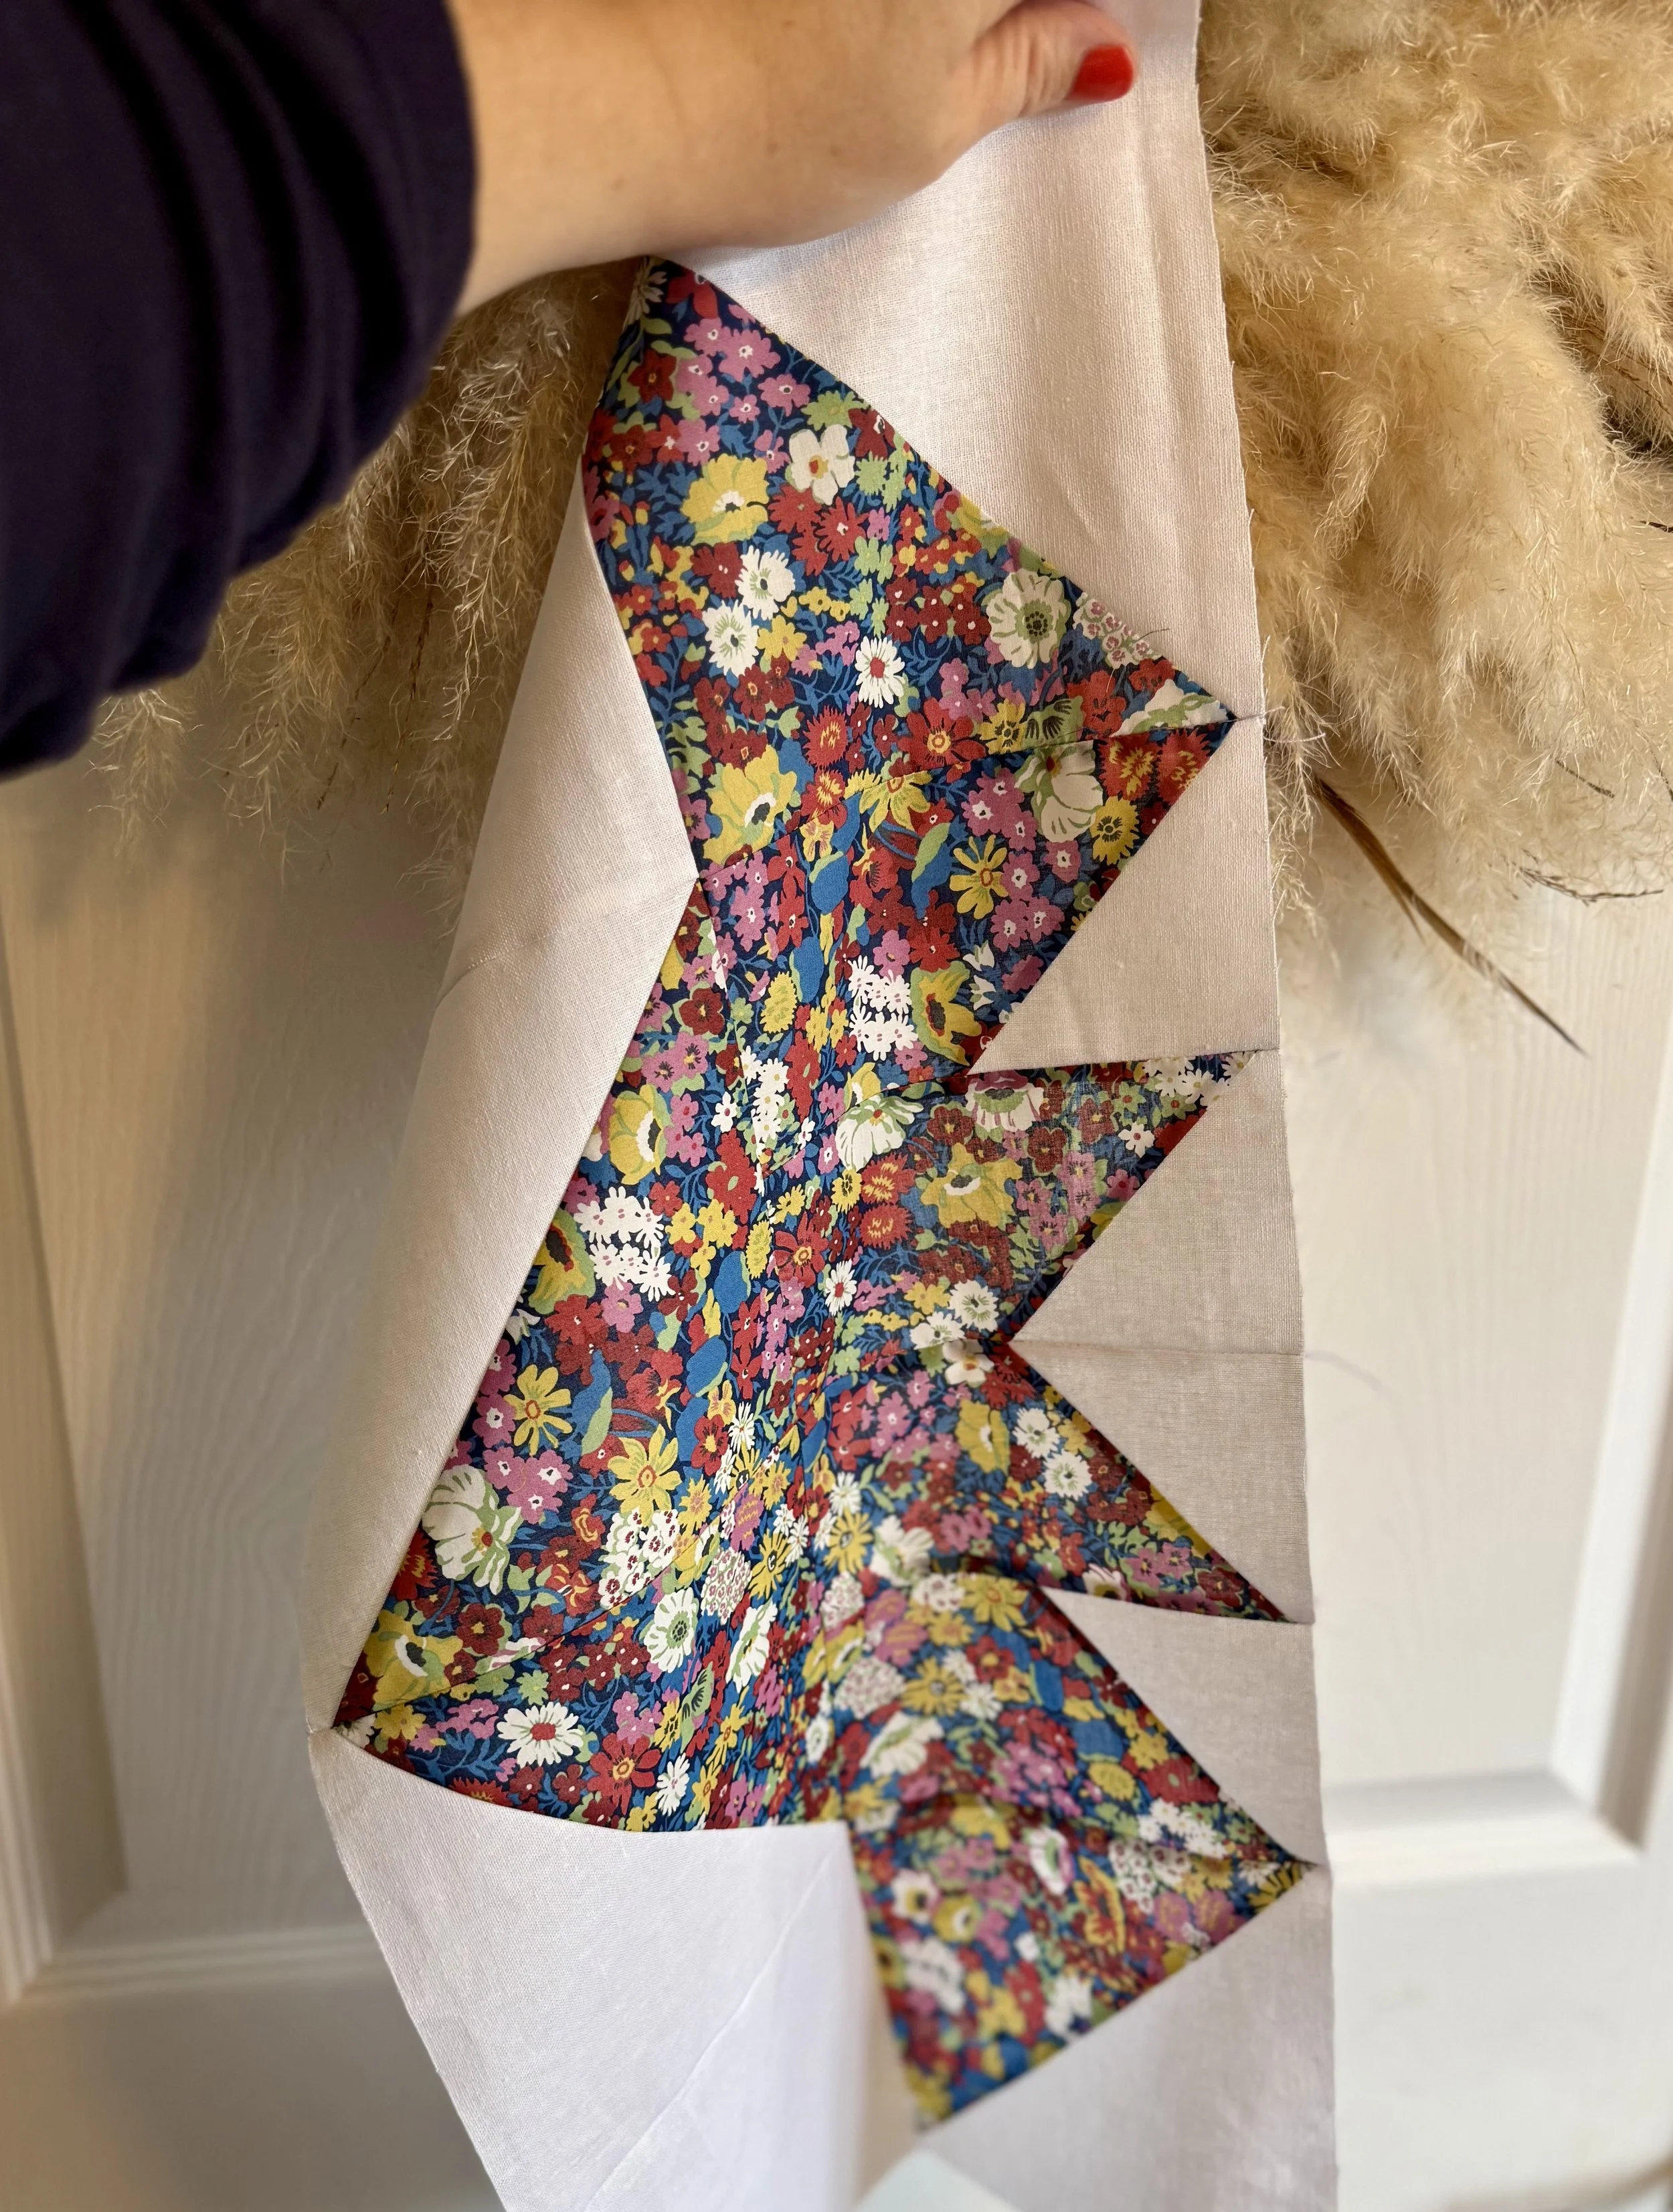
Follow the layout in your pattern to bring the bats to life.
My Progress
My Liberty version has a darker, more mysterious, cosy autumn charm than I usually work with in the brighter prints. I like the contrast of of the prints with the white Essex Linen to help them pop.
Don’t forget to admire your handy work.
Your Task This Week
Sew your bat blocks together.
Press them neatly and admire those little wings!
Share your bat block progress (even one finished bat counts!) with #BatDiscoQuiltAlong so we can all cheer you on.
Next week — all things layout and adding borders.
Bat Disco Quilt Along Schedule
Here’s what’s coming up over the next 6 weeks:
Week 1 – Fabric Pull
Show off your spooky (or not-so-spooky!) fabric picks.
Week 2 – Cutting
Get those fabrics prepped and organized.
Week 3 – Half-Square Triangles
Lots of HSTs = lots of disco magic!
Week 4 – Snowball Blocks
Cute, simple, and oh-so-satisfying.
Week 5 – Bat Blocks
Cute, simple, and oh-so-satisfying.
Week 6 – Quilt Top Assembly
Layout + rows = Bat Disco starting to shine!
Week 7 – Quilting & Finish
Quilting, binding, and celebrating your Bat Disco!
Use #BatDiscoQuiltAlong so we can all follow along and cheer you on!
🦇Bat Fact!
Bats aren’t spooky at all — they’re social creatures that often live in large colonies and help pollinate fruit like bananas and mangoes. So really, they’re party animals at heart!
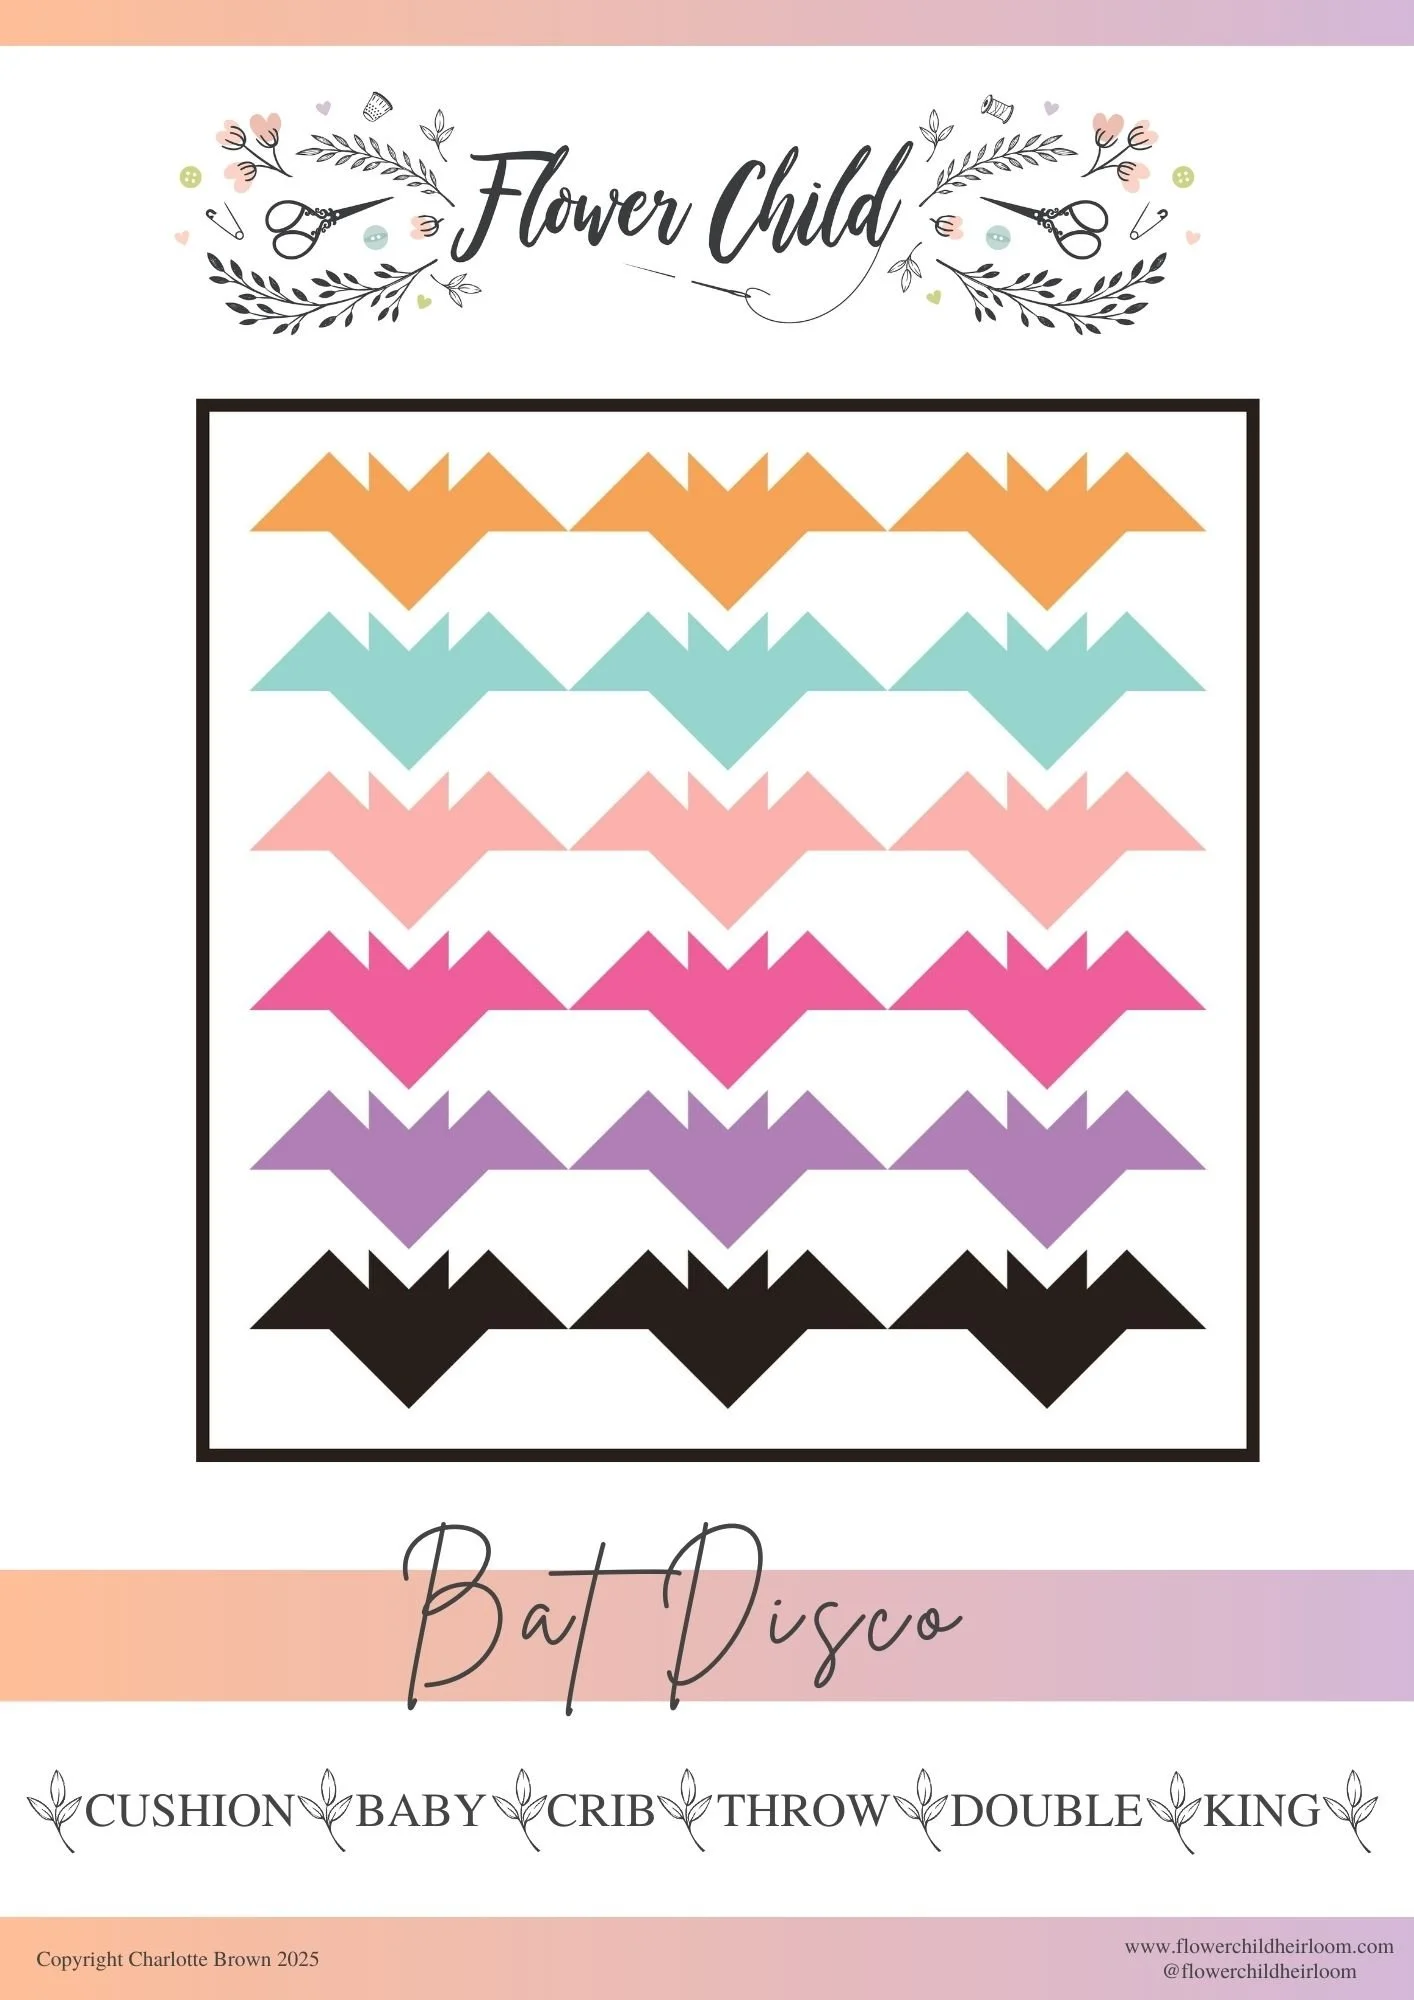
Inspired by my favourite time of the year and decorating my home for my family, I created this super beginner friendly Halloween quilt. These cute bats can be made in any colours, monochrome and you could even add embroidery onto their faces. Have lots of spooky fun!
I always go above and beyond on my patterns including detailed step-by-step instructions and tips across this 16 page quilt pattern.
The introductory offer ends next Monday 8th September at 8pm GMT.
The QAL starts on 4th September and everyone who has purchased the pattern. Please let me know in your purchase notes if you wish to sign up to the free emails.