

Bat Disco Quilt Along – Week Seven
Quilting, Binding & Bonus Embroidery
Can you believe it? We’ve reached the final week of the Bat Disco Quilt Along!
Over the last six weeks, you’ve chosen fabrics, made blocks, stitched your bats, and joined them into a beautiful quilt top. Now it’s time for the finishing touches — quilting, binding, and a little extra magic with some embroidered bat details.
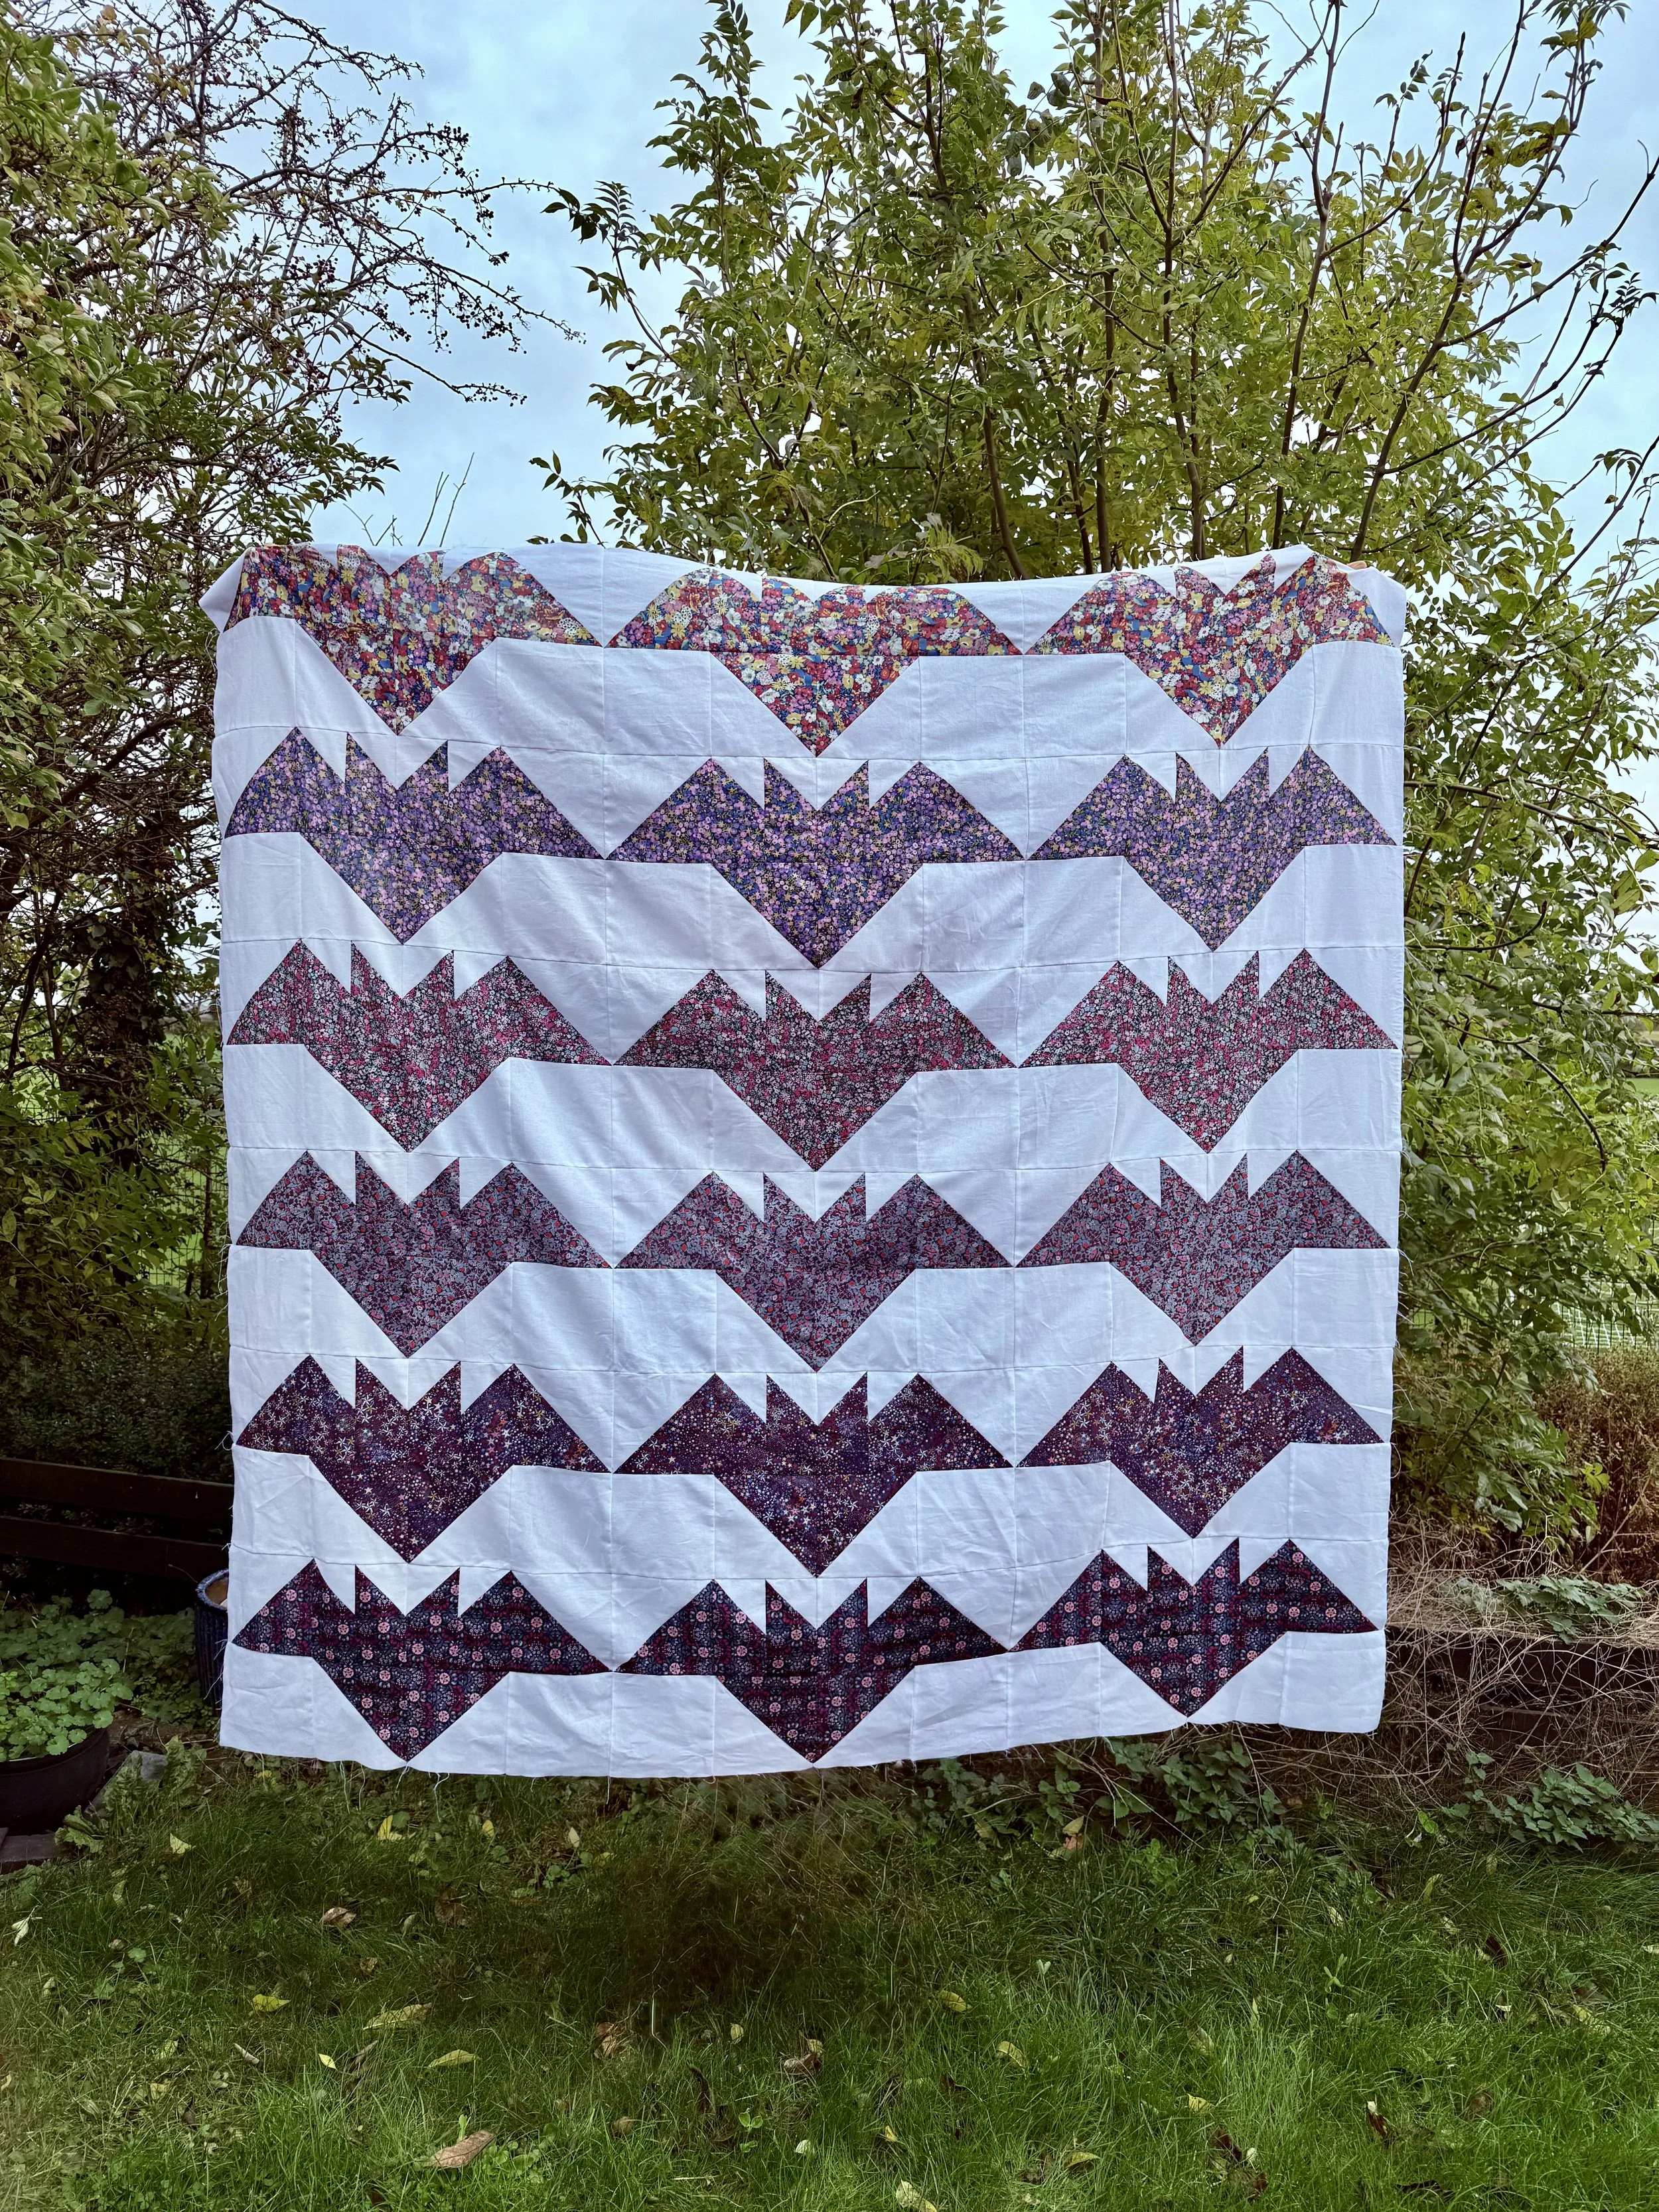
My eerily floating topper ready to be quilted.
Top Tips for Basting Your Quilt Sandwich
Here are some favourite tried-and-true tips:
Press everything first
Give your quilt top and backing a good press. Smooth layers make a huge difference.Tape down your backing
Secure your backing to the floor or table with painter’s tape, right side down. Pull it gently taut — not stretched tight, just smooth.Smooth the batting
Lay your batting over the backing and smooth from the centre outwards.Add your quilt top
Place your quilt top right side up. Again, start smoothing in the middle and glide outward.Pin or spray — your choice
Safety pins: Place them every 3–4" for secure layering. Curved quilting pins help.
Basting spray: Light, even coverage, and press gently with your hands to set. Great for speed but you need good ventilation and a light touch, a little goes a long way
Check for wrinkles
Lift and peek underneath as you go — it’s easier to fix wrinkles now than when you’re quilting.Work in sections
If space is limited, baste one half, roll it, then baste the other half. Totally doable in smaller sewing spaces!Give it a wiggle test
When finished, lift the quilt and gently shake — everything should feel secure and smooth.
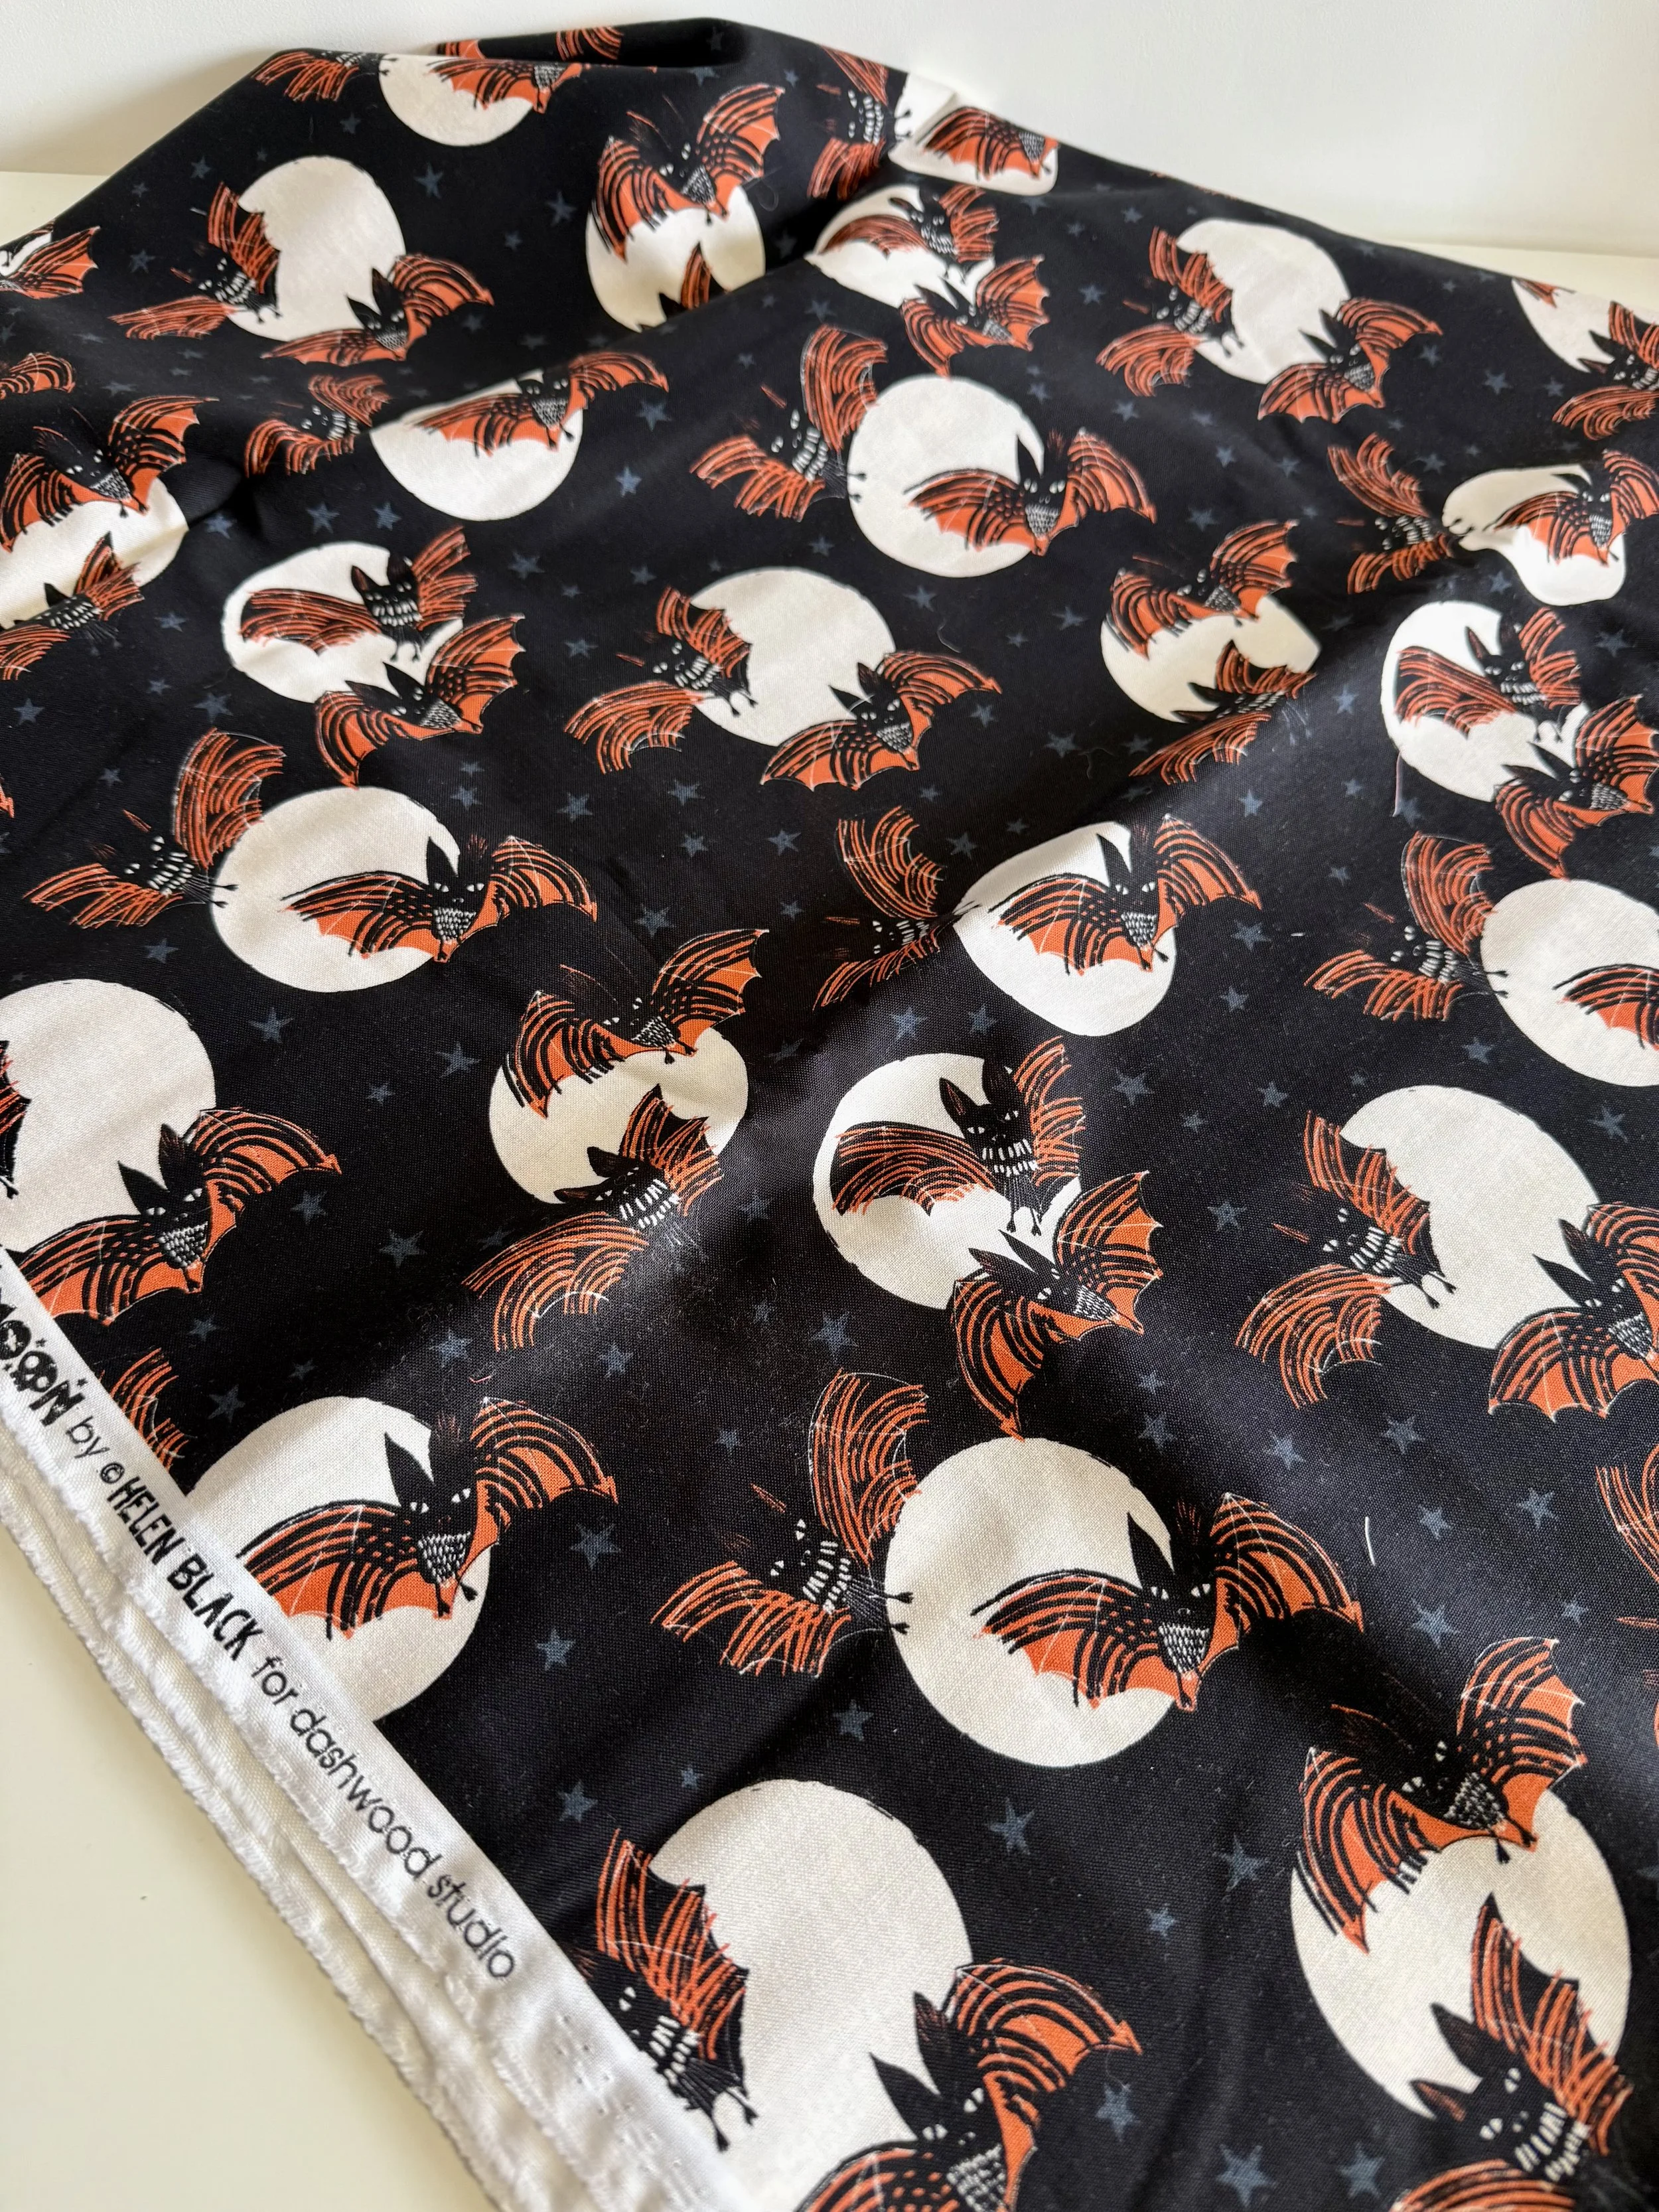
I found this perfect remnant for the backing.
Quilting Ideas
This is where your quilt truly becomes your own! You can keep things simple or go full-on disco glam — it’s completely up to you.
Straight-line quilting – Perfect for beginners and gives a clean, modern look. Try parallel lines with the width of your largest foot or creating diagonal lines across the quilt for movement.
Professional Long Arm Service – There are loads of cool Halloween pantographs out there.
Outline the bats – Stitching just outside each bat shape helps them stand out from the background — like little wings in motion! You could even hand quilt to do this.
Thread – Why not add a playful twist with neon? Or something to blend into the background fabric.

Ghost quilt photo had to be done!
Binding Time
A good binding frames your quilt beautifully:
Choose a contrasting binding if you want to highlight your edges and add a final “pop.”
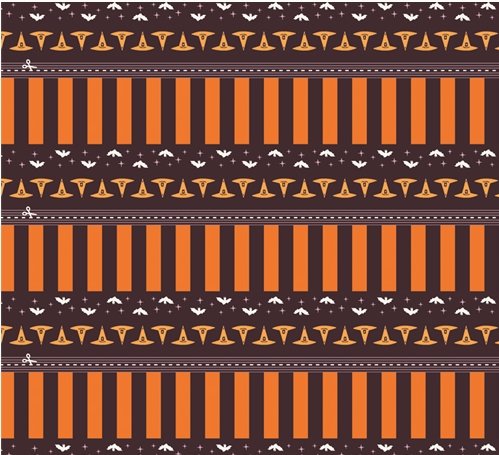
I love a stripy binding in Halloween colours.
Don’t forget to label your quilt — it’s part of your creative story!
Press your quilt well, square up those edges, and take a moment to admire how far you’ve come.
Art Gallery Fabrics 2.5” Edition, has pre-marked binding strips.
Bonus: Embroidered Bat Details
For a little extra fun, try embroidering tiny bat faces or features!
A few small back stitches for eyes, fangs, or little smiles bring such charm to your bats.
Semi-circles become closed eyes to make your bat cute.
Keep it subtle with matching thread or go bold with bright pops of colour.
You can even add tiny stars or sparkles for a touch of disco flair!
This extra step turns your Bat Disco quilt into something uniquely you — handmade personality and all.
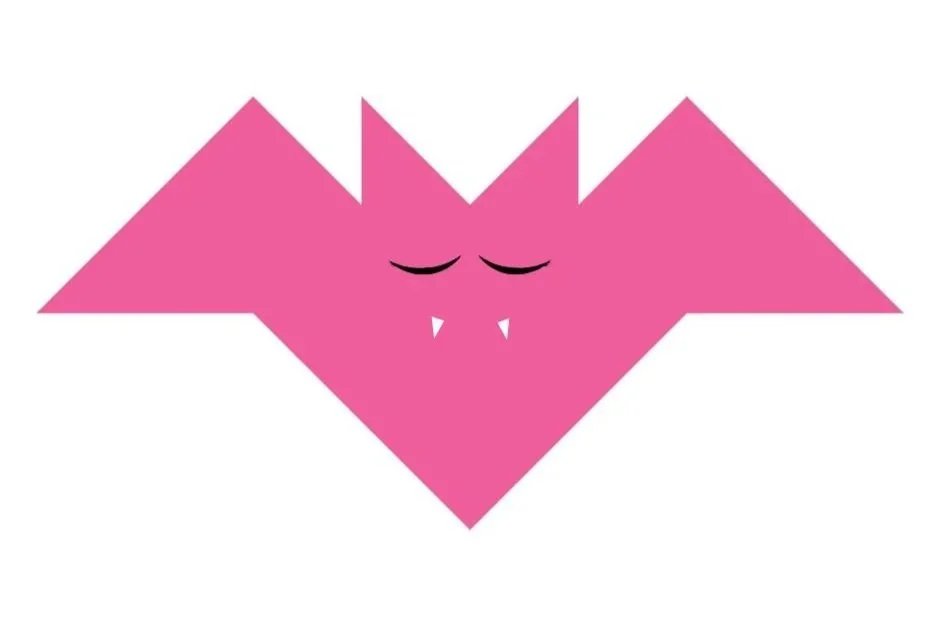
Add eye lashes for a girly bat.
Your Task This Week
Quilt your Bat Disco in your favourite style.
Add your binding.
Optional: add embroidered details for extra personality before you quilt!
Share your finished quilt using #BatDiscoQuiltAlong so we can all celebrate your beautiful finish!
And that’s a wrap on the Bat Disco Quilt Along!
Thank you so much for sewing along, sharing your progress, and filling these weeks with colour, creativity, and community. Your quilts are proof that Halloween can be cute, cosy, and absolutely full of sparkle. This resource will remain here for all newcomers to the pattern.
Until next time — keep sewing, keep shining, and keep dancing under your own little disco ball!
Bat Disco Quilt Along Schedule
Here’s what’s coming up over the next 6 weeks:
Week 1 – Fabric Pull
Show off your spooky (or not-so-spooky!) fabric picks.
Week 2 – Cutting
Get those fabrics prepped and organized.
Week 3 – Half-Square Triangles
Lots of HSTs = lots of disco magic!
Week 4 – Snowball Blocks
Cute, simple, and oh-so-satisfying.
Week 5 – Bat Blocks
Cute, simple, and oh-so-satisfying.
Week 6 – Quilt Top Assembly
Layout + rows = Bat Disco starting to shine!
Week 7 – Quilting & Finish
Quilting, binding, and celebrating your Bat Disco!
Use #BatDiscoQuiltAlong so we can all follow along and cheer you on!
🦇Bat Fact!
Bats aren’t blind at all — in fact, many species can see just fine in daylight! They rely on echolocation at night not because they can’t see, but because it helps them “see” with sound in complete darkness.
Inspired by my favourite time of the year and decorating my home for my family, I created this super beginner friendly Halloween quilt. These cute bats can be made in any colours, monochrome and you could even add embroidery onto their faces. Have lots of spooky fun!
I always go above and beyond on my patterns including detailed step-by-step instructions and tips across this 16 page quilt pattern.
The introductory offer ends next Monday 8th September at 8pm GMT.
The QAL starts on 4th September and everyone who has purchased the pattern. Please let me know in your purchase notes if you wish to sign up to the free emails.